Back in late July last year I went around to Chas’s place and helped with an all Grain pale ale. Chas is now focused of his site Brew In Review and I wanted to do a write up. I’ve finally done it, here we are.
Chas had done a few brews back around middle of 2015. You might remember I mentioned he gave me a bottle of The Friedlieb IV back in June 2015. Review of that is in draft and I’ll get up soon. Then there was an all grain pale ale. That turned out too strong. The next brew day, 25 July 2015, was about redoing the all grain with less fermentables.
The equipment used was from one of Chas’s mates, a big esky/cooler box converted into a mash tun. Nice and easy to use. Didn’t get a photo on the day, but here’s a pic of it from another day after it got cleaned out.
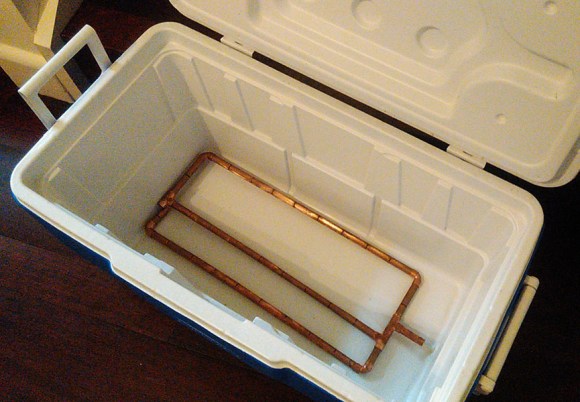
Esky mash tun, clean and dismantled
16 litre batch
4 kg traditional ale malt + 40 g malted wheat + 40 g dingman’s biscuit malt + 20 g rye.
Mashed at 67.5°C for one hour
16 g chinook + 8 g fuggles for 1 hour.
16 g cascade for 20 minutes
16 g Citra + 8 g Willamette for 2 minutes.
US 05 yeast
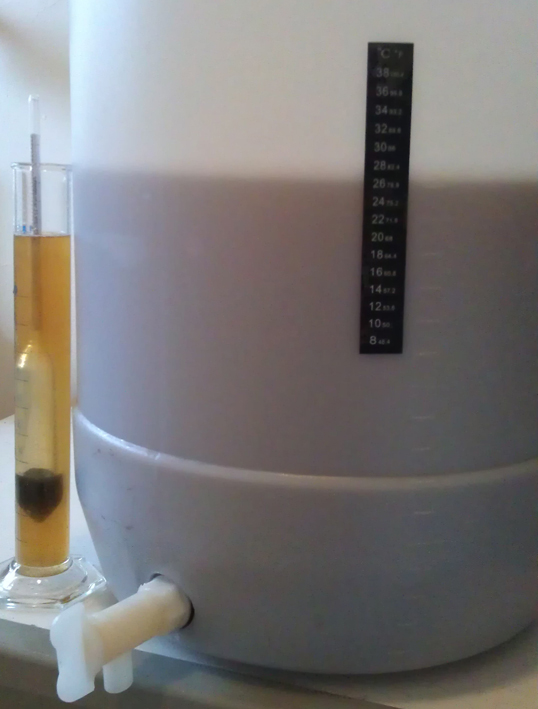
OSG 1.045
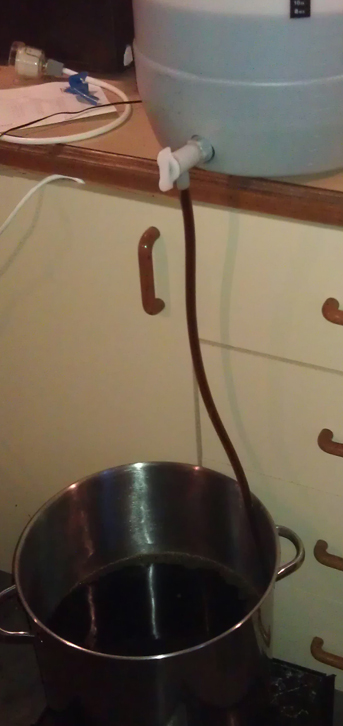
Mash was an hour, target of 67.5°C and landed pretty much there. That was easy. Next was the sparging. Drain the liquid and some hot water poured over the top of the grain. That took ages, about an hour or more. Finally pressed the grain to get extra liquid out.
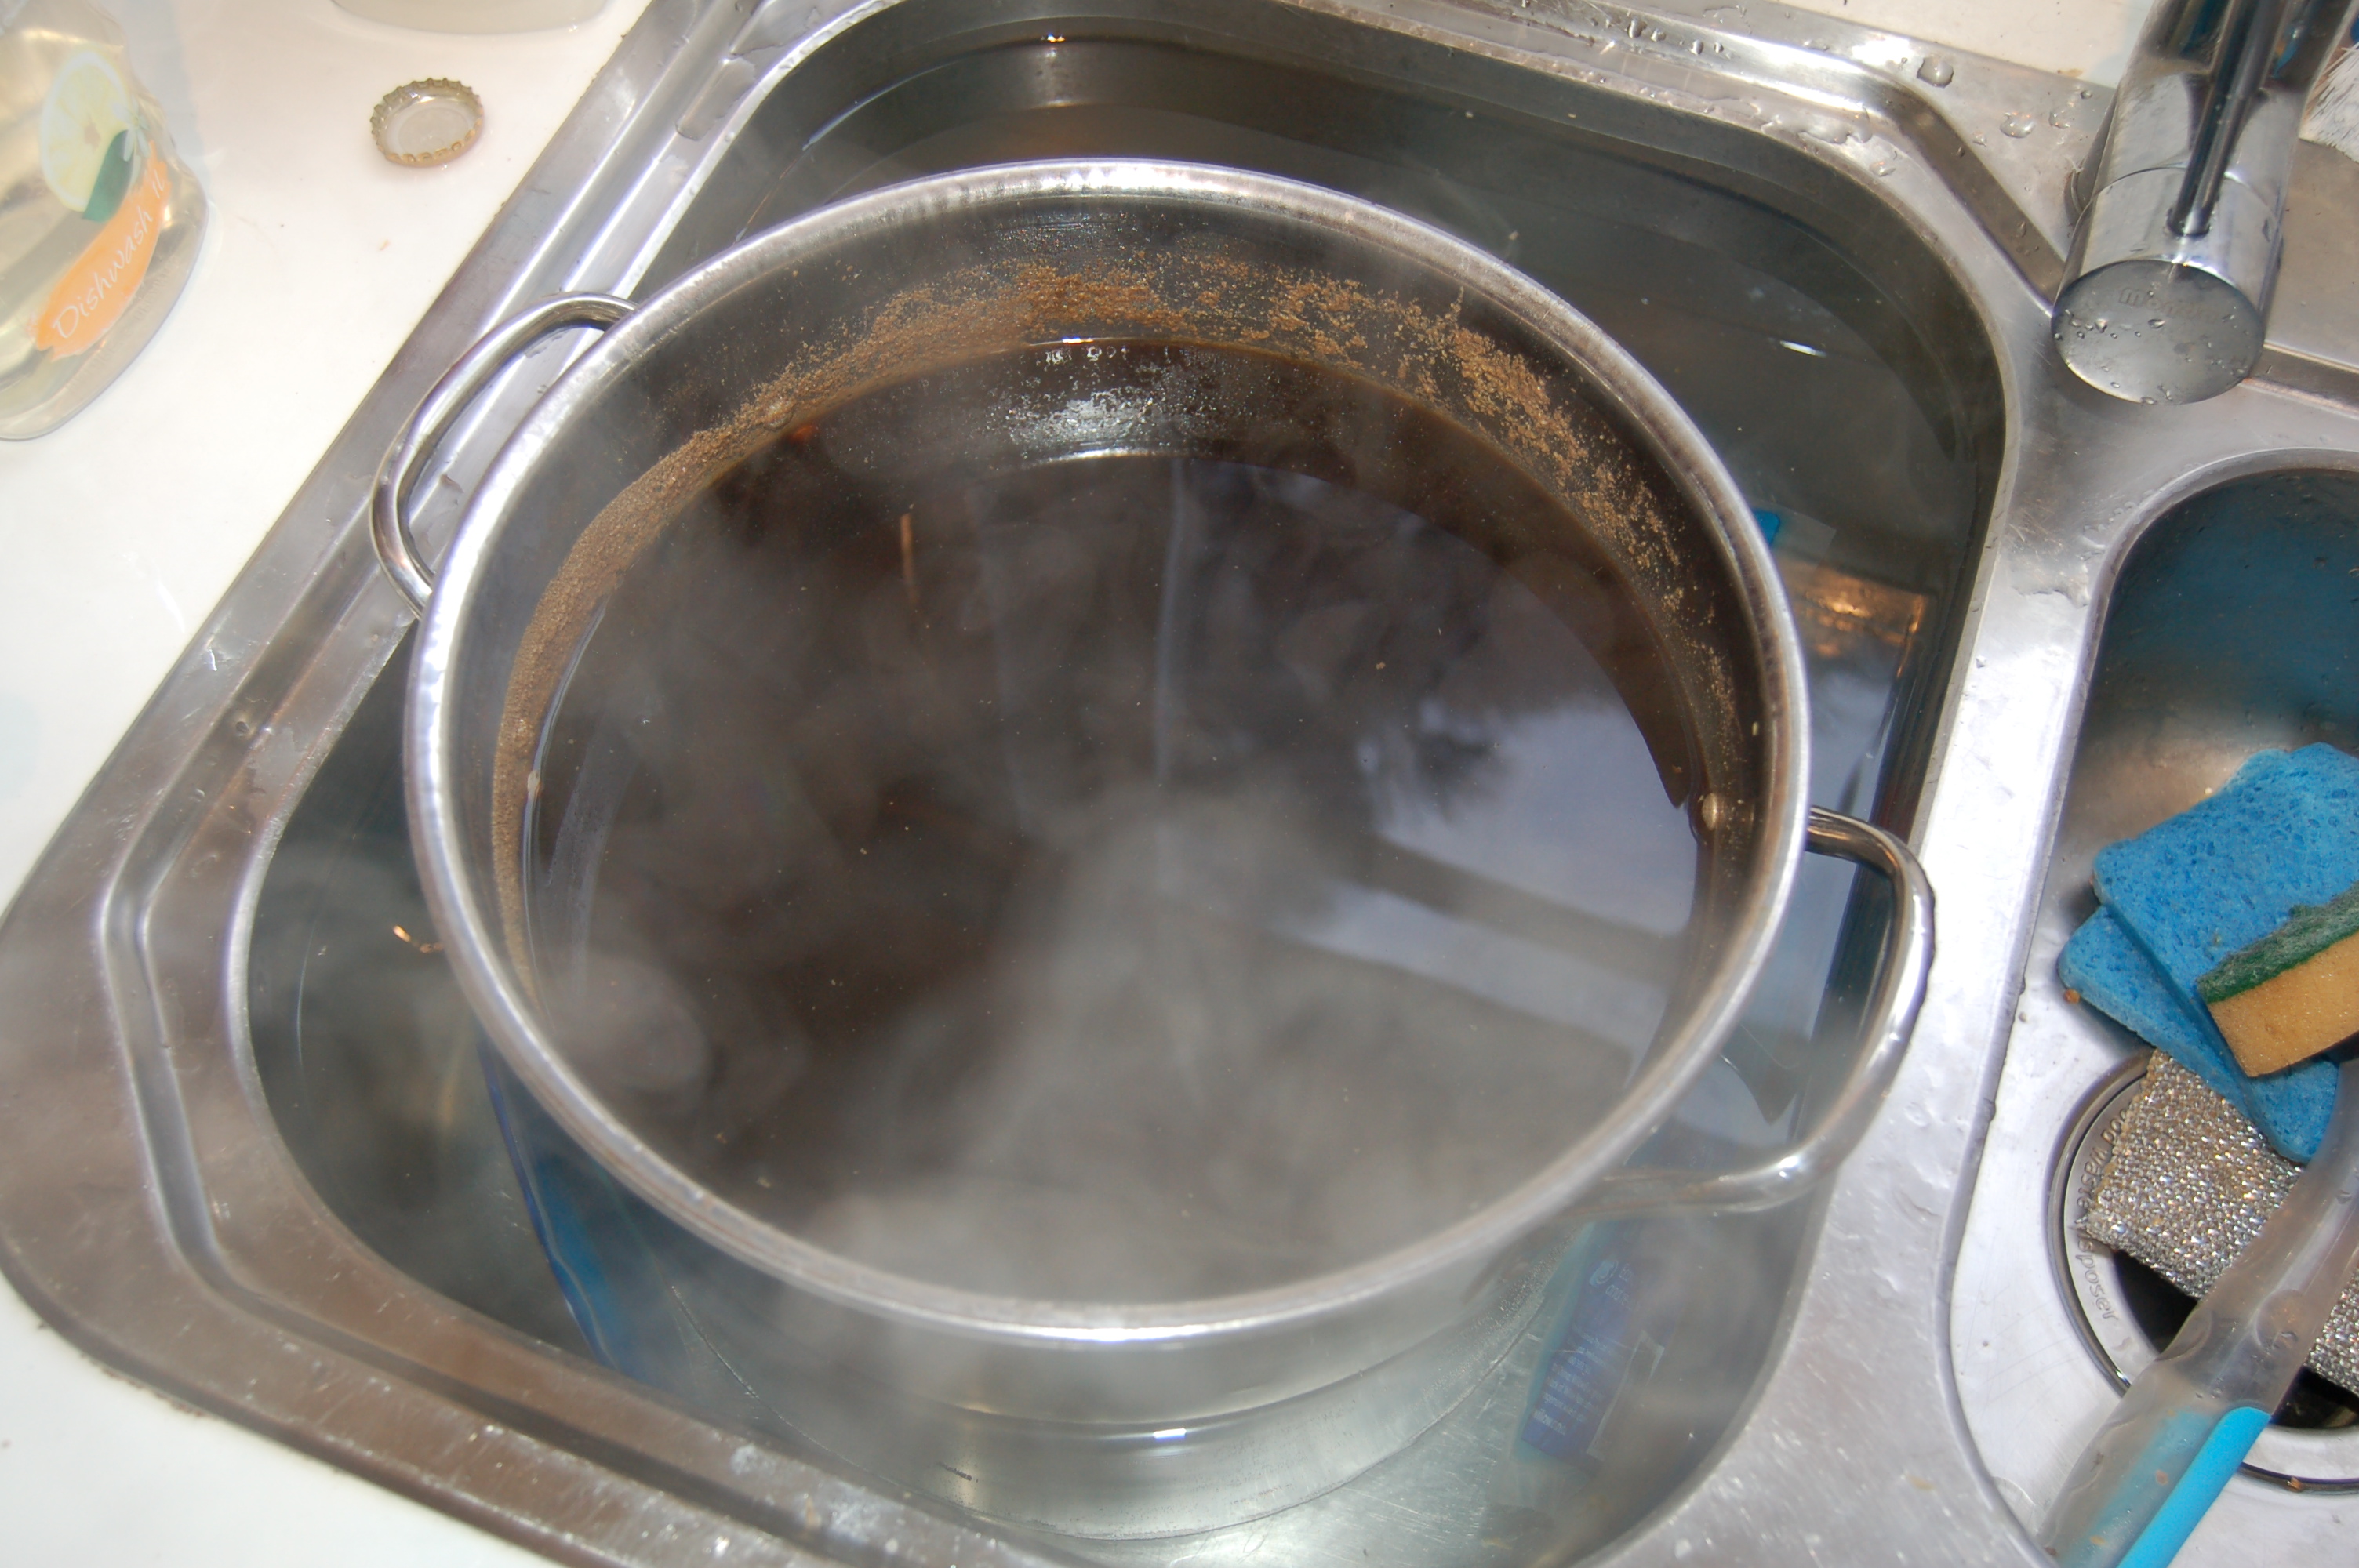
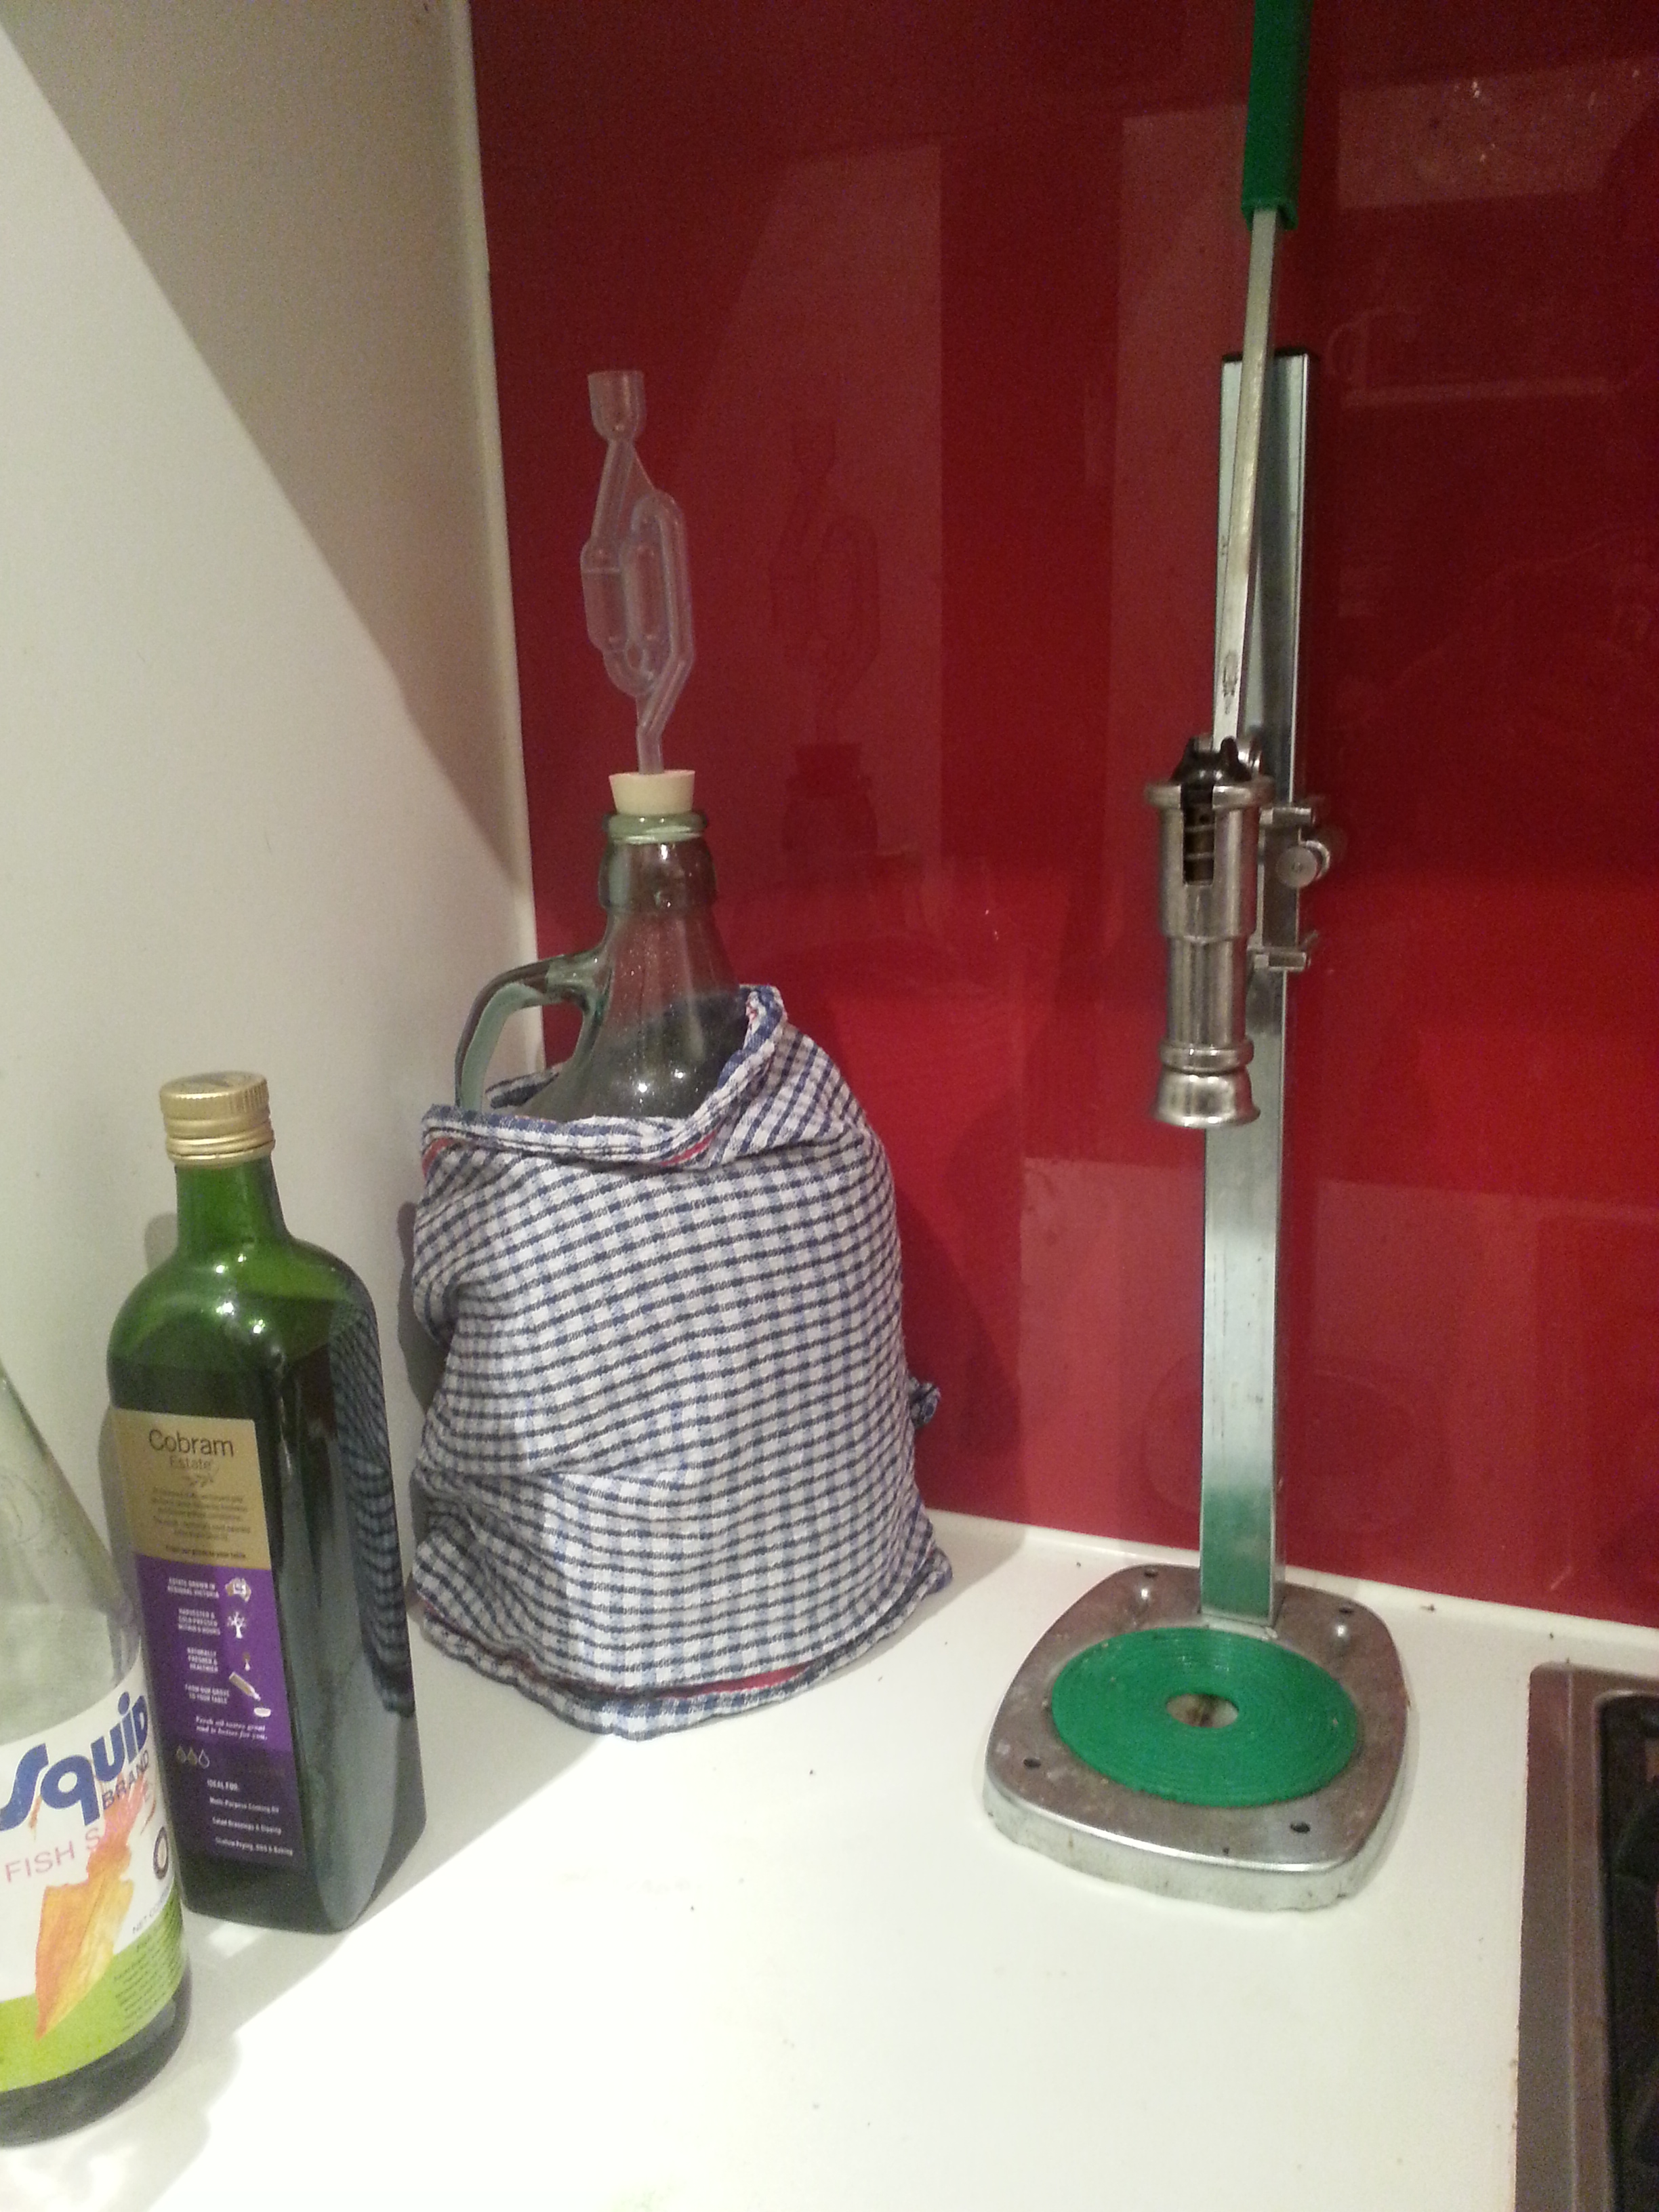
Next up, bring to a boil and keep going for an hour. Three hop additions: 60 minutes, 20 mind and 2 mins. Next, the pot moved to ice bath. Then drain and fill bath a few times. Maybe 40 minutes or so to bring down to low 20’s. Finally into the fermenter and dry yeast pitched straight in. Gravity sample came in at 1.045 which was in the range Chas was after.
It was a long day. Chas started the mash about 10:30 before I arrived and we finished up around 3:30. That’s a long brew day and a one of the reasons I still haven’t moved to all grain brewing.
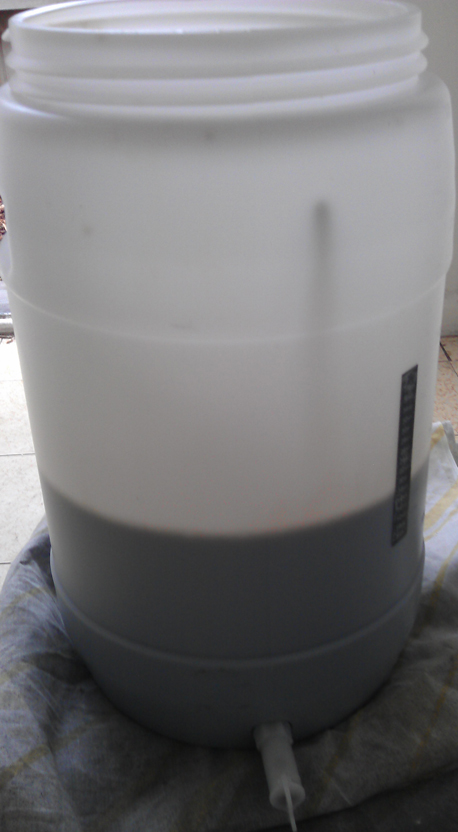
Fast forward two weeks to bottling day. Woo! This was a real easy bottling session. Chas bulk primed the beer in the fermenter before I got there and the whole lot was bottled in about 15 minuets.
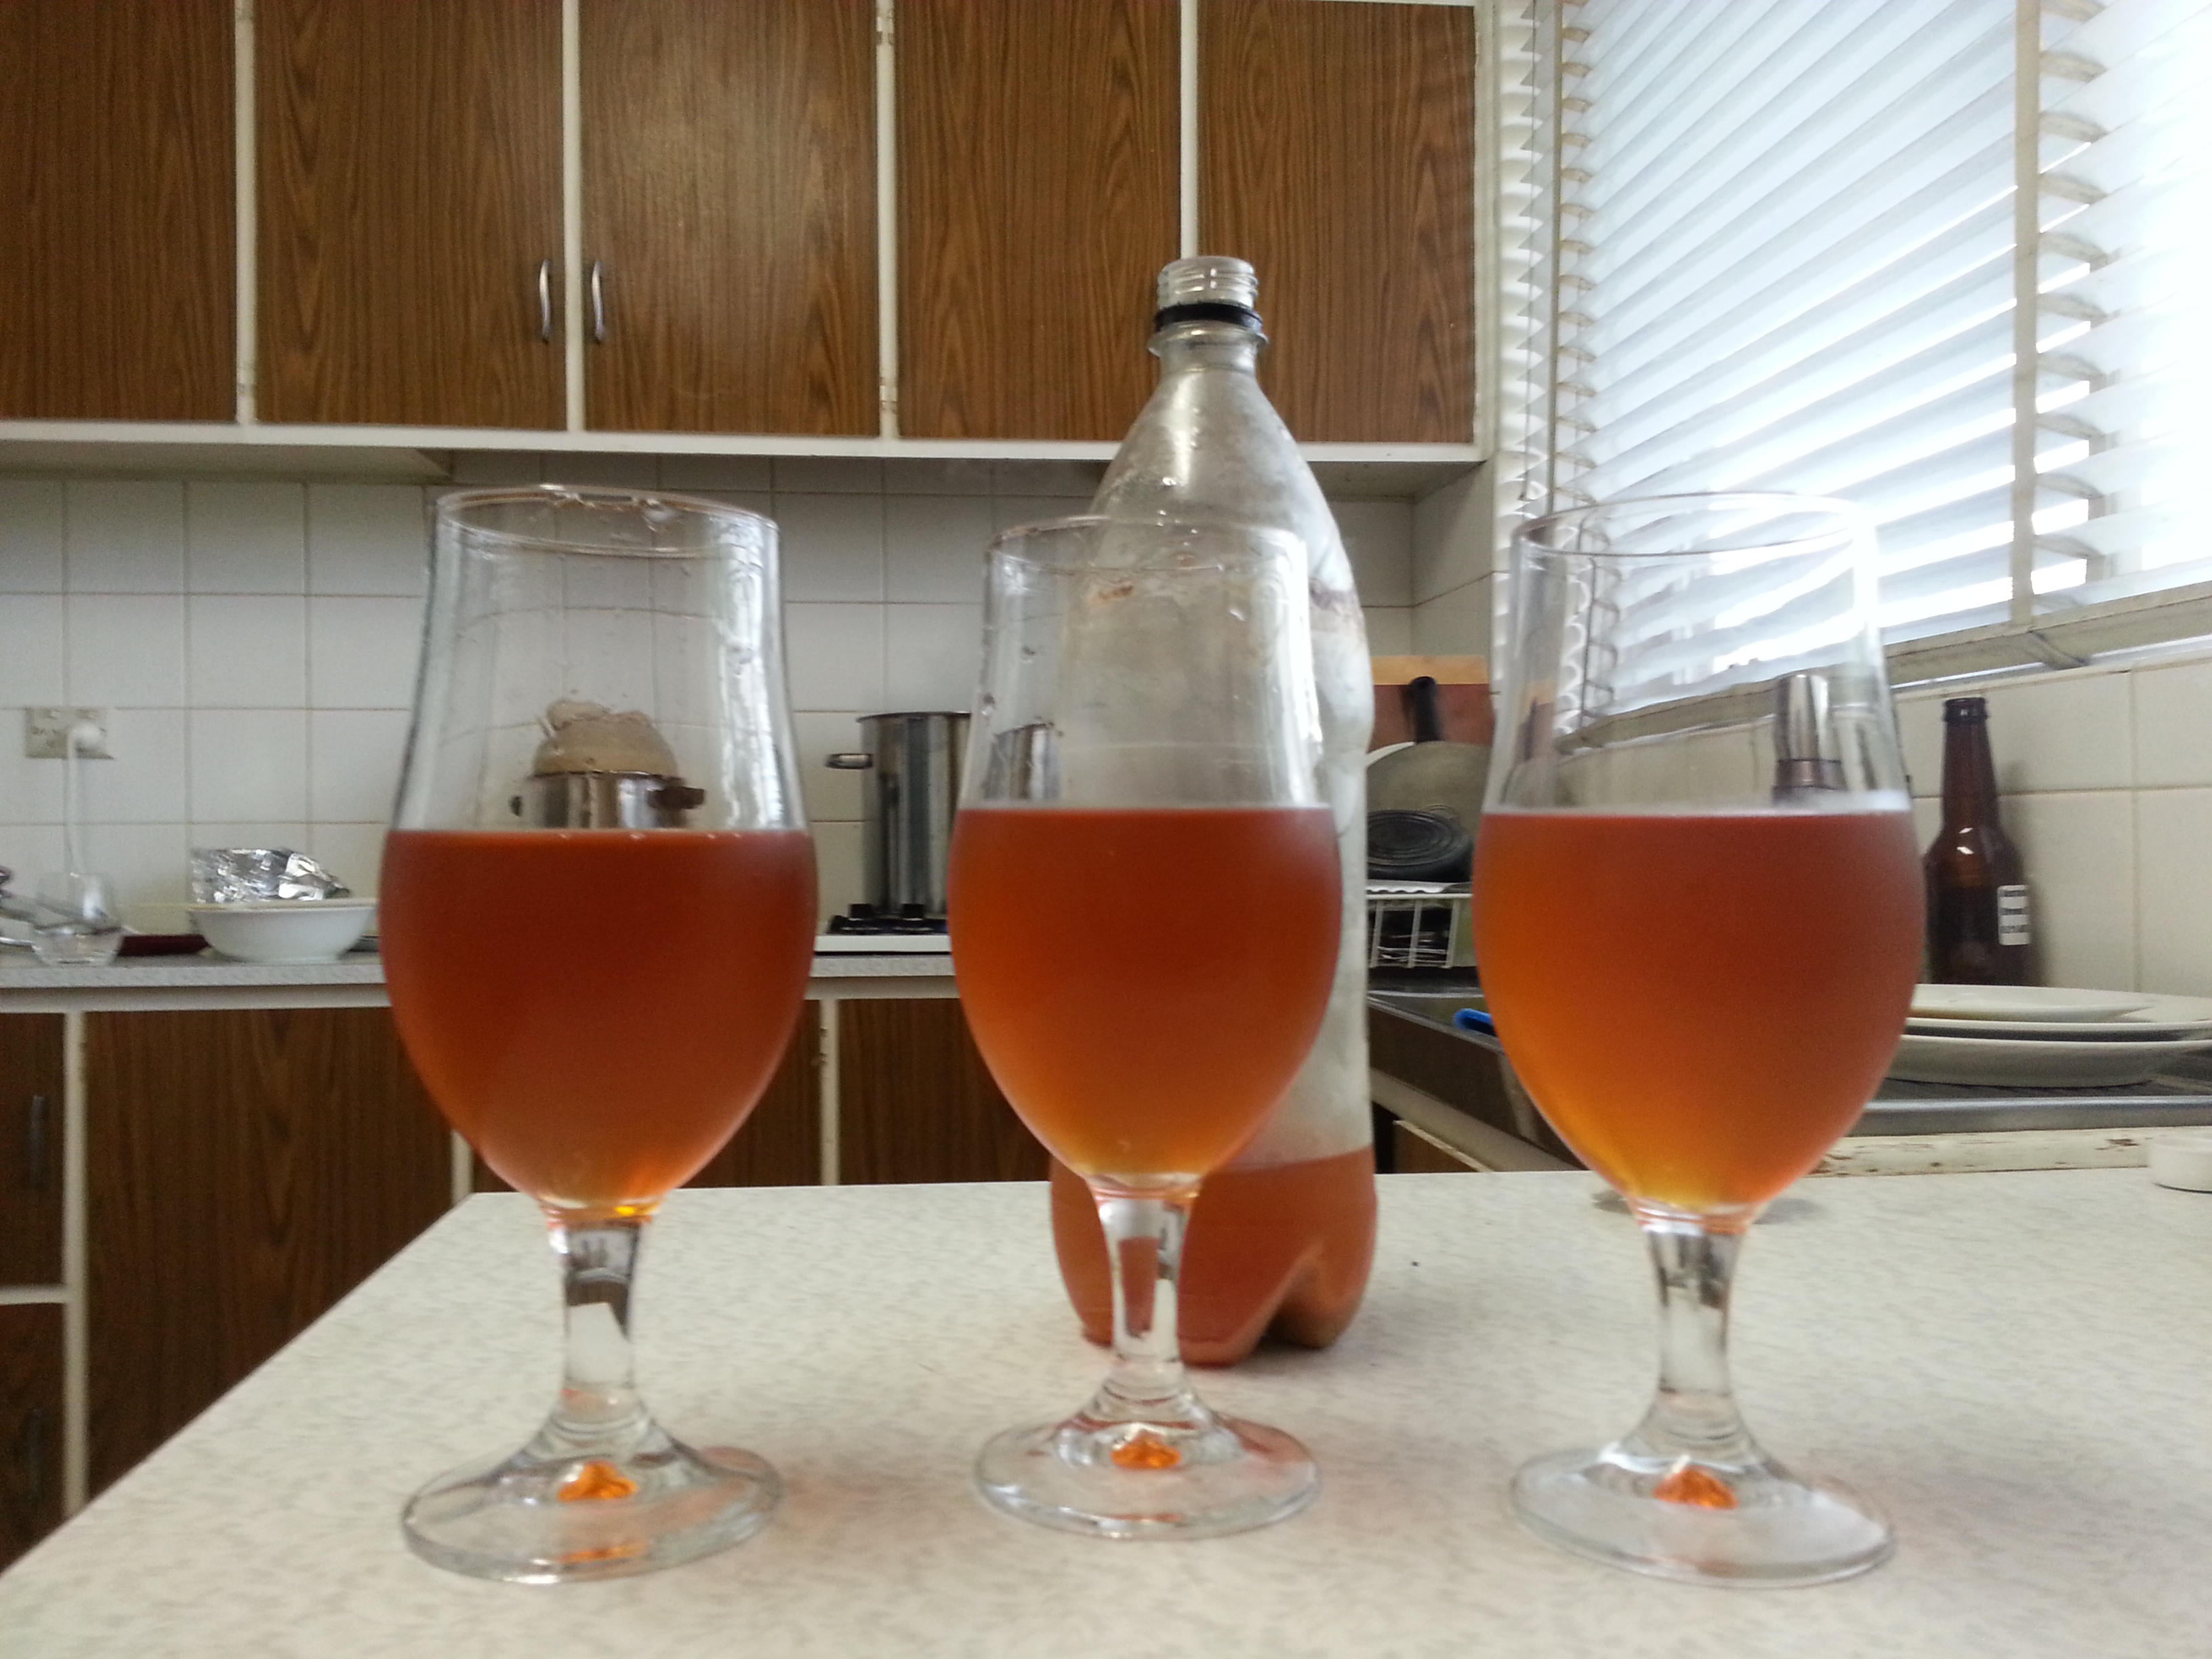
 The final gravity reading came in at 1.006 and will be a 5.5% beer after bottle conditioning. The sample tastes great. Plenty of body and citrus hop flavour.
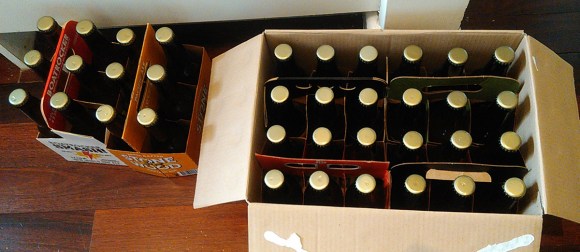
Chas gave me a four pack to take home. The test batch seamed promising and I was really looking forward to seeing how these turn out.
This beer has been reviewed and I’ll get a post up in the next couple weeks.
Worth noting, this recipe was an early version of what became the Priestly Pale Ale. You can read up all about that recipe on Chas’s site Brew In Review.
-Mikey