Tag Archives: temperature

Lesson learnt, a bit too late

On Sunday we had another brew day at my place. Was time to do another Porter and a using some grain for the first time since the Brewsmith kits.

There was bottling of the Australian Amber Ale and tasting of the Australian Pale Ale. Both are a lot darker than ‘amber’ or ‘pale’ and should be renamed ‘dark’ and ‘amber’. The tasting of the Amber was, how should I put this, bad. The idea behind the two brews really wasn’t thought out well enough. I had assumed the sugars in the liquid malt cans would mostly ferment leaving only a slight sweetness. I was very wrong. And I should have realised it when we did the gravity readings. Chas has a review that will be going up, but to summarise… it’s bad. The amber came in at lower gravity than the pale, so that might be worse. I’m not going to even attempt tasting the Amber Ale in two weeks. I think both beers need to condition for a number of months, maybe six or more.

So, with that in mind I’m very glad we did a brew of something that should turn out a fair bit better. Or at least in theory. The brew can’t be classified as a ‘Partial’ because the grains used were crystal. That means no enzymes to convert starch into sugar, aka a mash. This was Steeping of the grains, and therefore this brew should be classified as an extract. Plus a can of amber liquid malt extract was used. There was 500 grams of Crystal (ebc 115-145) used.

Baltic Porter #1

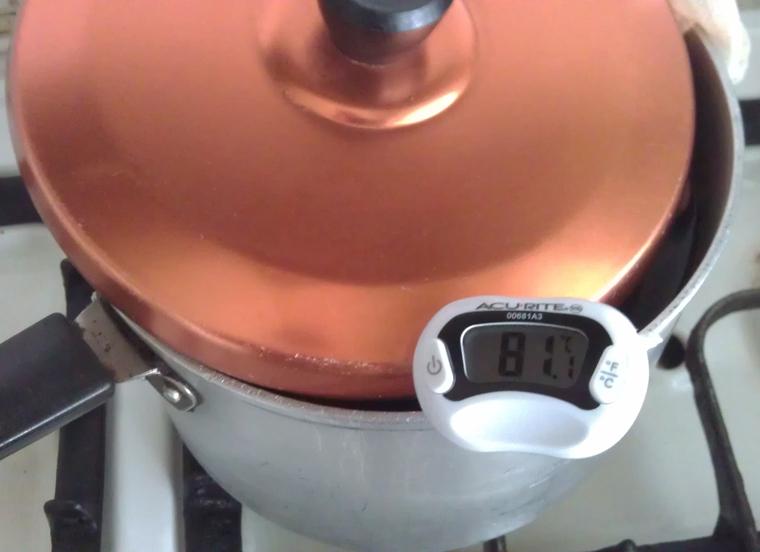
Grains for Baltic Porter #1 steeping in the pot

I wanted to get the most out of the grains so steeping occurred for a full 60 mins at around 80C. I say around 80C as the temperature wasn’t fully controlled the whole time. It dropped down to around 77C and was as high as 86C at one point. Not great. But, in defence it was only steeping and not mashing.

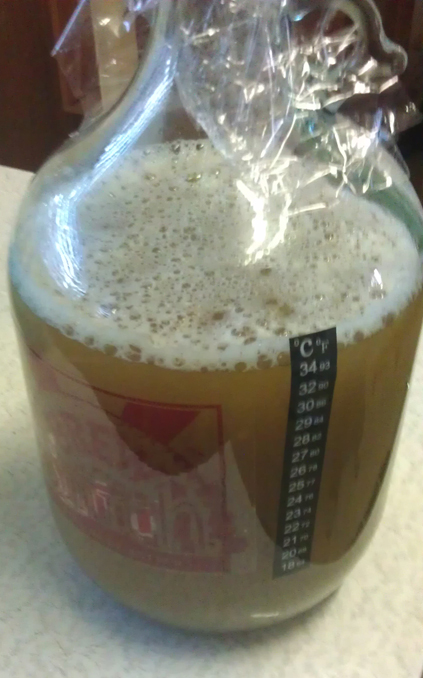
And so the Baltic Porter started.

After steeping there was a sixty minute boil. The can of liquid malt and the liquid from steeped grains were all thrown into the wort. Once the hot break occurred in went 7 grams of Warrior hops.

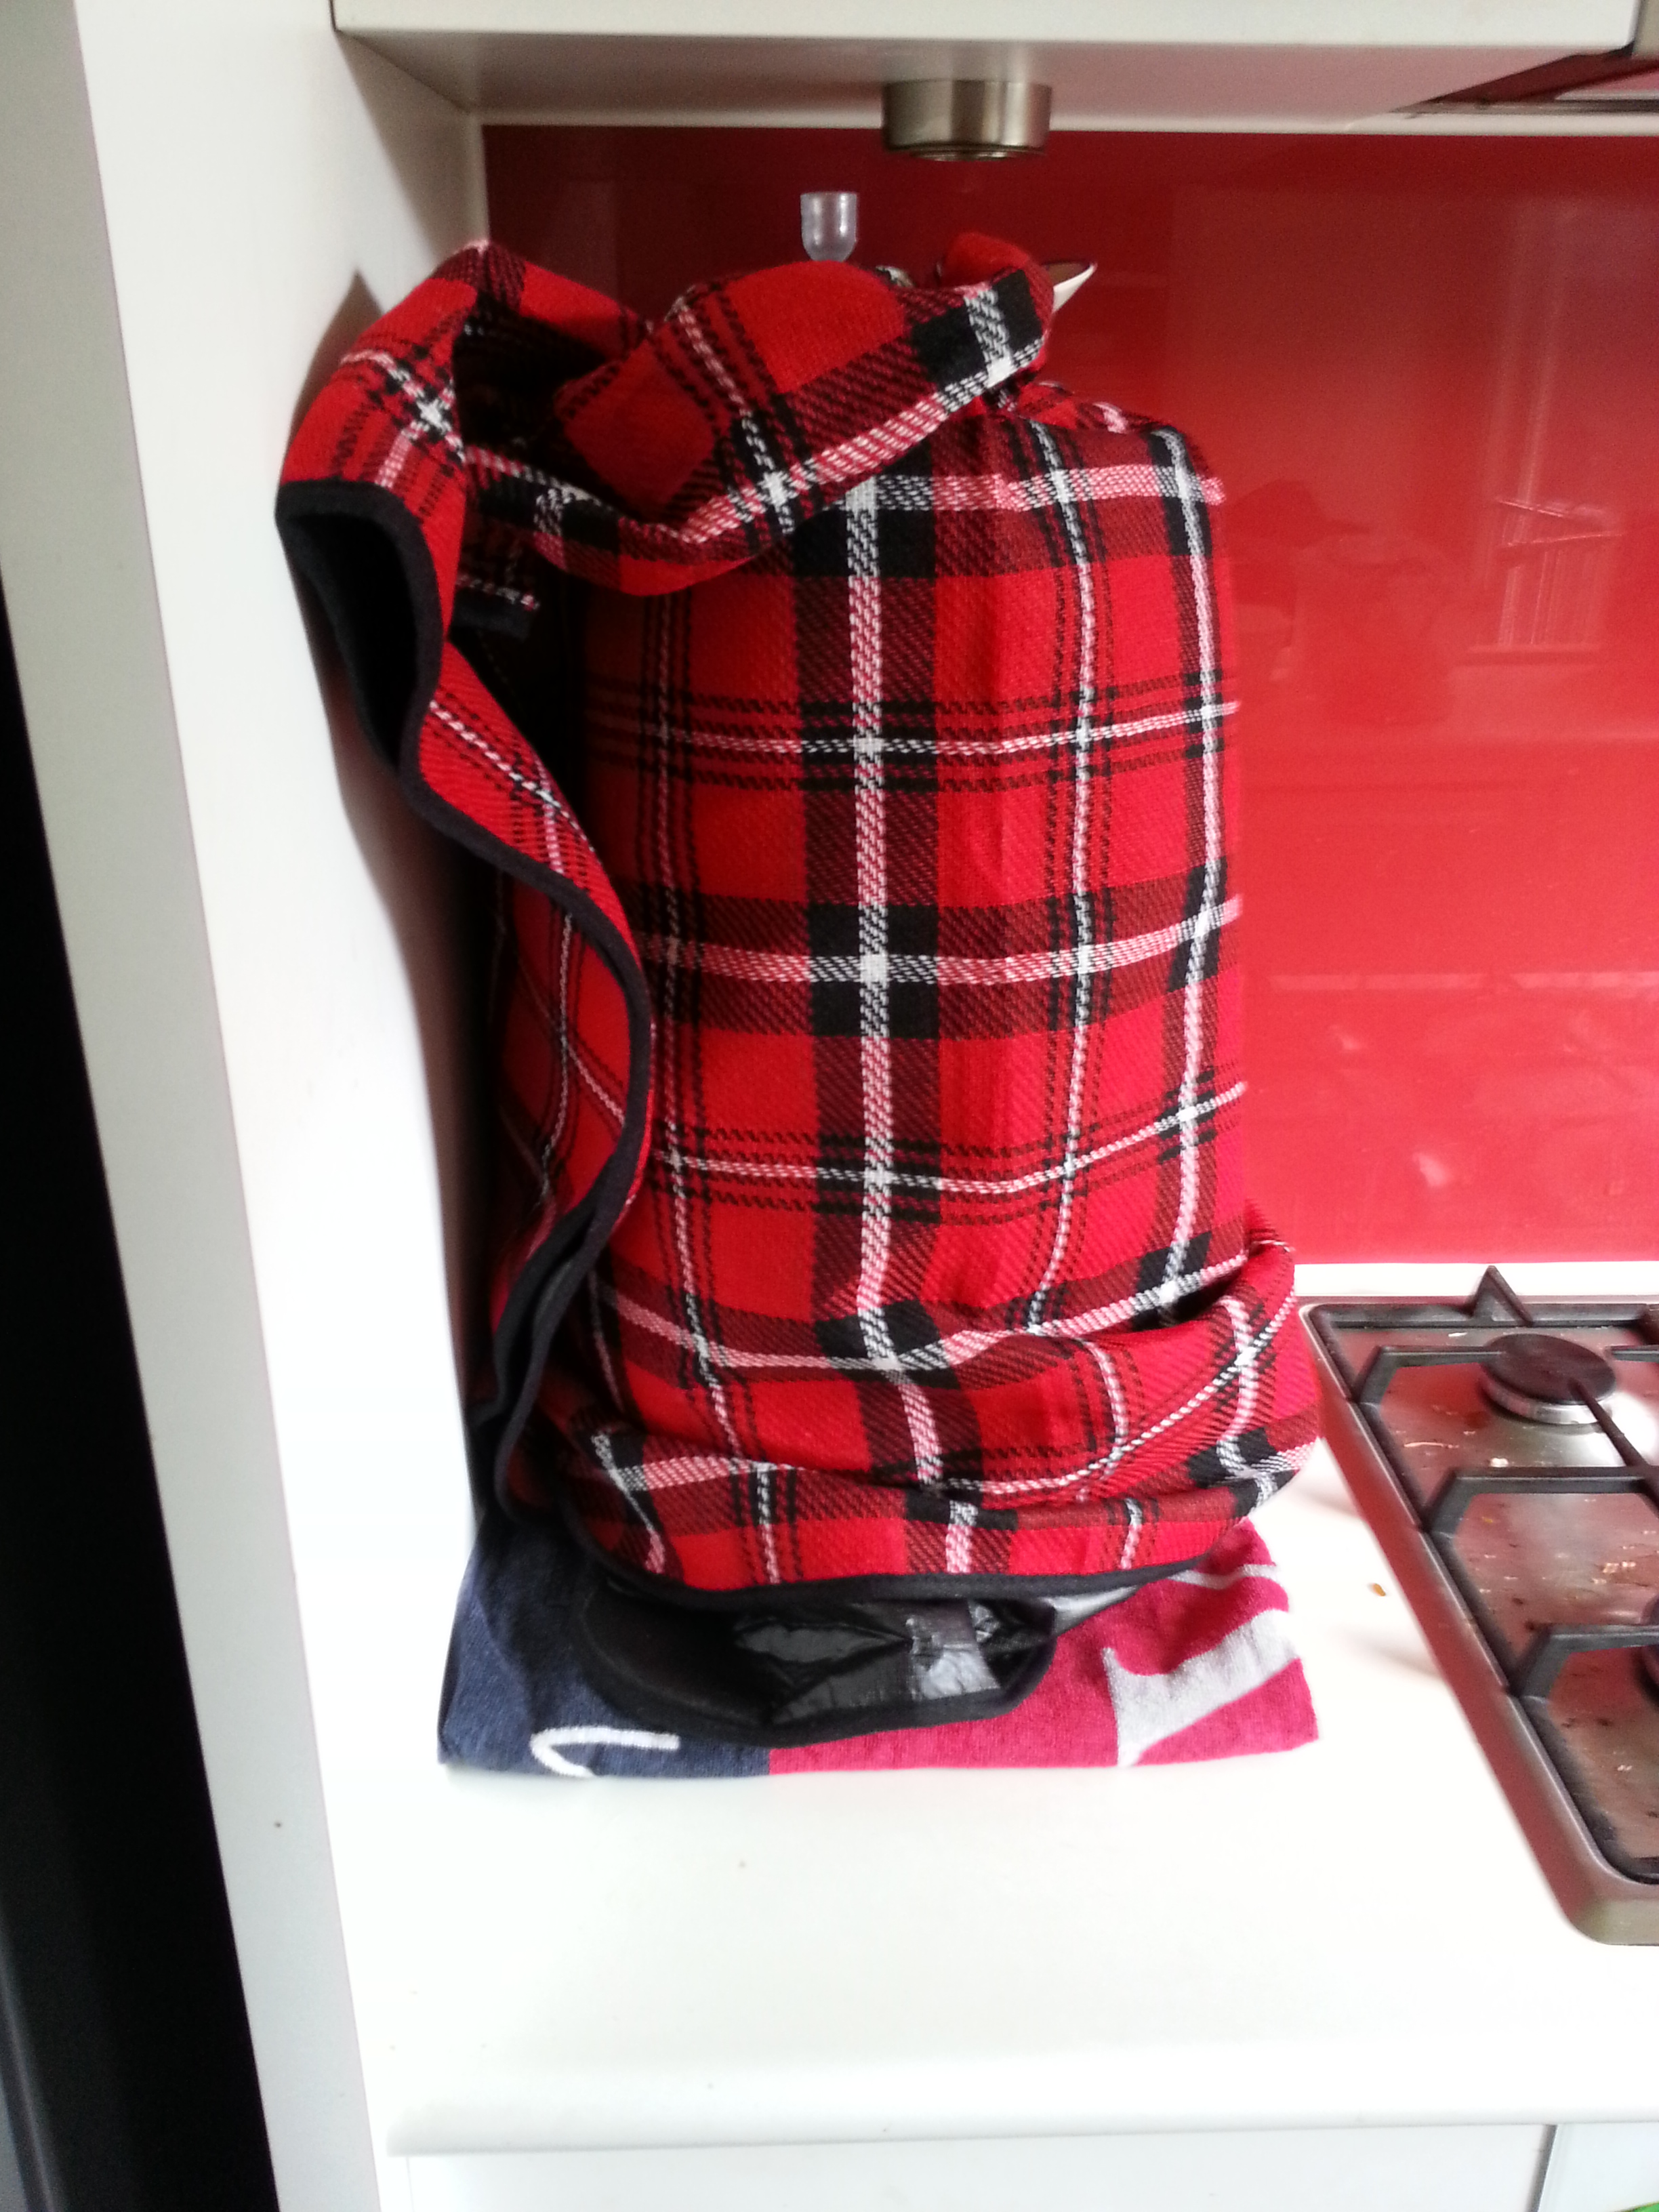
After 30 mins there were 3 grams of Fuggles added. Then finally another 2 grams five mins before flame out. This was then put in the big 30L fermenter and topped up to the 10L mark. Windsor hops were added and fermenter given a good shake to get more oxygen due to the expected high alcohol.

  • Crystal grain (ebc 115-145) – 500g
  • Black Rock Amber liquid malt extract – 1.7k (cans are now bigger)
  • Warrior Hops – 7g
  • Fuggles – 5g (split 3-2)
  • Danstar Windsor yeast – aprox 5g

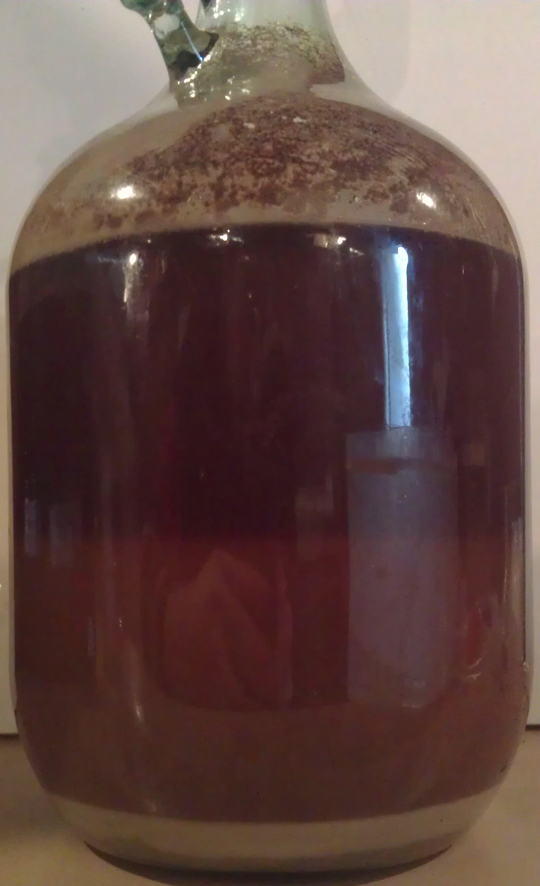
The original gravity was calculated at 1.081, but only came in at 1.072. That’s probably a good thing considering what happen to the two Australian Ales recently brewed.

The day had some painful lessons. And they were kept to small batches so there’s not too much pain. If this Baltic Porter turns out bad I think it might be time to return to some kits for a little bit.

-Mikey

PS. Forgot to mention we tasted the Black Rock Miners Stout and Gauss’ Law hopped cider. Review for stout is up and review of Gauss’ Law will be coming soon.

Tagged , , , , , , , , , , , , ,

Search engine terms #1

Howdy!

I’m really into data and numbers, so I spend a good amount of time checking out the stats for We Make Home Brew.  One thing I’ve found interesting is the search engine terms; what people are searching for when they stumble upon this blog.

This has inspired me to do two things.  Firstly, there is a handy new section above that provides links to the occasional general tip article that we do.  Secondly, I thought I’d share some of the search terms and expand where possible.  Hopefully whoever originally found this blog through a search engine is still reading and now has their question answered!  Feel free to comment with questions and I can go into things further.

Adding to this, we’re currently in the process of writing some other general informational posts that we’ll throw into the new section.  A lot of this is to provide some information, a lot of this is because we’re taking a brief break from brewing because I’ll be going on holidays for about a month!

How do I make cider?  Also various cider related searches.

One of the reasons for the new tips and tricks section.  I’ve done a general run down on cider making here.

Buy super yeast for wine

All yeast is pretty super.  This is a bit of a strange search to do.  I have done a post on yeast, but there is so much to consider, it’s probably best to consult your local home brew store: they should be able to advise you on the best yeast to use for your brew.  All yeasts are different and it’s best to make sure you’re using the most appropriate yeast.

In relation to wine yeast, I’ve only used the SN9 wine yeast for my ciders.  This is advertised as generally good for whites and sparkling wine.  I’ve found it’s a pretty clean yeast that doesn’t leave any yeasty tastes.  What I’ve also found is that it’s a fairly slow fermenting yeast when compared to ale yeasts I’ve used.

Fermentation blanket

I’m not sure where this pointed the searcher, but I think we’ve made references to such things… I keep my fermenter in the kitchen, so I generally just throw a towel or an old blanket over it to keep things warm.  I’ve found that the fermentation process creates a little bit of heat, so in a modern house, a decent blanket can work wonders.  My kitchen also gets a fair amount of morning sun, and it’s best to keep UV off of your brew, so the blanket also helps to block the sun

Mikey, on the other hand, keeps his fermenter in the garage (AKA the Brew Dungeon).  Mikey has insulated a cupboard with old sheets which does a pretty good job.  To compliment this, Mikey also has a heat pad to use in case of emergencies.  Heat pads can be purchased at most home brew supply stores; I’ve even seen heat belts for sale as well.  For general heating, Mikey has thrown some Christmas tree lights into the cupboard.  Keeping these on for a few hours a day does wonders.

I’ve seen and read about various other home made temperature regulation systems.  A popular thing to do is to use an old bar-fridge (not plugged in).  Refrigerators are designed to be very well insulated, so the temperature should stay fairly constant.  Heating/cooling sources can be added to the fridge if the temperature is wrong.

Will yeast die if it gets too hot?

it depends on what is meant by “too hot”.  But yes, yeast is a living thing and will die if things get too hot, it’s always best to keep things in recommended temperature ranges (the yeast packet should tell you).  Even if the yeast doesn’t die, you can create fusel alcohol by mistake.  Fusel alcohol may form at temperatures above about 27 degrees C.  Unfortunately, if the temperature is too low for your yeast, the fermentation process may be too slow (same if you under-pitch your yeast), once again causing the yeast to sit in your fermenter for too long, causing other off tastes or also fusel alcohol formation.

Similar problems can happen if the wort isn’t aerated enough prior to pitching.  This can cause a build up of nitrogen in the fermenting wort, and once again, causing impurities or the wrong types of alcohol to form.

That’s it for now.  Maybe I’ll really nerd out and make some graphs in the future, we’ll see!

-Chas

Tagged , , , , , ,

Same-same, but different

Brewing day. Ah, nice to have one that doesn’t involve having to fill 80+ bottles. Due to craziness, ie doing other stuff, brew day was moved to Saturday. Plus there was no need to do a supply run which always saves a fair bit of time.

Australian Pale Ale #1

Australian Pale Ale #1 in carboy with separation after 2 weeks.

In the last brew we made the Australian Pale Ale #1. This was an experiment to see what could be done with just a can of liquid malt and hops. It was an attempt to make a very simple but still tasty home brew beer. Last time it was a can of light malt, this time amber malt. Rest of the recipe was the same. Same hops, same boil time, same yeast. Well, the yeast was slight different combination and I’ll explain a bit further down.

So, bottling the Australian Pale Ale #1 was quick. Only 12 bottles used, and the last one wasn’t a full one. There was a huge amount of sediment on the bottom and the brew looked like it had separated at the half way point. Not sure what that was about. There’s the pic to the side here. Anyway, we did a quick stir to mix the two half’s together before bottling. Due to the massive amount of yeast the bottles were very cloudy. I’m not sure how much sugar wasn’t fermented and this is the first time I’m a bit concerned about exploding bottles. Very interesting that the final gravity reading came in at 1.040. That’s high, very high. I’m thinking it’s mainly to do with the huge amounts of yeast. Anyway it means the beer will be 8.6% after bottled. Yay, finally a strong beer.

After that was all done it was onto making the Australian Amber Ale #1. Yes, I know the names are basic and Chas comes up with some great ones. I just can’t be bothered until I get one that I’m happy to continually remake. Plus, the name says what it is.

Started with three litre boil and threw in the can of liquid amber malt. Start of boil added 3 grams of Warrior hops. Twenty mins latter added 2 grams of Galaxy hops. Then 15 mins later another 2 grams of Galaxy hops. Five more mins then flame out and into the sink for a cool bath. Once temperature was close to what was needed it was pored into the carboy and topped up with cold water. Chas got shaking with the carboy and gravity readying was done, 1.097. That’s less then the Australian Pale Ale #1 and I think it’s because a bit more water went into this at the end.

Australian Amber Ale #1

Australian Amber Ale #1 in carboy.

Yeast for the last beer was an issue. There was too much left and the SN9 wine yeast was only put in after 10 days which didn’t do much. So, for the Australian Amber Ale #1 there was a change in what was done. Only half of a kit yeast pack was put in, and the SN9 wine yeast was put in at the same time.

  • Black Rock Amber Liquid Malt Extract – 1.5kg
  • Warrior hops – 3g
  • Galaxy – 4g (split)
  • Kit ‘Premium Brewing Yeast’ – 2.5g
  • ‘Premium Wine Yeast’ SN9 – 1g-ish

A good brew day was had. We busted out the Newcastle Brown and had a couple. Chas put up the review yesterday. Had a couple of the lagers, but one bottle was flat (no sugars in the bottle?). And opened a stout, but it’s not ready yet.

-Mikey

Tagged , , , , , , , , , , , , , ,

New Brew for New Financial Year, Happy Brew Financial Year!

Yeah, I know that’s a bit of a crap name for a post. I did want to do something witty, didn’t quite get there. Plus, the other options were pretty bad.

Black Rock Miners Stout

Black Rock Miners Stout can and fermenter

As Chas mentioned yesterday it was a busy weekend. Last if the lager was bottled. Then 5 litres of the Newcastle Brown Ale went into storage while the other 17 litres went into bottles.

There were tastings of a whole range of brews. Cider, dark ale, lager and porter. Reviews will be slowly going up over the next week out so. And then there was a brew.

I wanted to make something simple and easy. And I wanted another dark beer. When I picked up the kit for Newcastle Brown Ale I also grabbed a can of Black Rock Miners Stout. Picked up some “stout booster” as well. On some good advice I also grabbed a pack of Windsor Ale Yeast to replace the kit yeast.

Yep, some would say it’s a step backwards in home brew. But when you are running low on time, or just can’t be stuffed, a can kit does fine.

First there was the can as the base. The “stout booster” was a kilo mix of dry dark malt extract, light malt extract, and maybe dextrose. And lastly threw in the 900 grams of Dextrose, which was left over from the original Heritage Lager kit.

  • Black Rock Miners Stout – 1.7kg
  • Brew Blend Stout Booster #25 – 1kg
  • Dextrose – 900g
  • Danstar Windsor Ale Yeast – 11g

Had a lot of trouble with heat on this one. Didn’t really pay attention to how much boiling water went in at the start. As a result, even after for trays of ice, we had to leave the wort cool for half an hour before pitching the yeast. The lid, with airlock, was put on to prevent infection. Overall it was a real pain in the arse. There is a good lesson in there about temperature control.

Final gravity was 1.045. I was hoping for more. That’s three brews in a row where final gravity was less than what I wanted. If I had thought about it, I would of thrown in all the rest if the sugar in the house into the wort. Probably for the best I didn’t think of that at the time. Next brew will have a lot more dry and/or liquid malt extract. Or, maybe just a lot of grain. Hrmm, there’s a thought…

The wort was more bitter than expected. But I’m pretty sure this one will be a nice, somewhat basic and somewhat light, stout.

-Mikey

Tagged , , , , , , , , , , , ,

Summer Citrus, first attempt

Summer Citrus in fermenter

Summer Citrus Blond Ale #1 in fermenter. Just before yeast added.

Didn’t look like we were going to be able to do a brew last weekend. But shuffled a few things around and did a brew on Saturday. Another Brew Smith kit, this time the Summer Citrus Blonde Ale.

Was expecting another partial boil with grain, needing two pots. Not the case. This was a simple one with malt, hops and extras added straight into the wort. Two lots of malt, three hop additions, coriander seeds and lemon rind. Yeah, I was thinking the last two were a bit odd. But hey, it is a citrus blond.

Did add in a bit more water than meant to at a couple of stages. For example washing out the malt bags to get all the powder out, and into the wort. For this one had to grate lemon rind in. We did it directly over the pot and used some boiled water to rinse the bits off the grater. Anyway, as a result we didn’t need to do any extra top up of water into the glass carboy fermenter. A side effect was that the wort was about 29 degrees Celsius. Plastic wrap went over the top of the carboy until the temperature could be dropped. The photo above was taken at this point. Extra cooling was done, but after another 20 minutes we could only get it down to 27 C. Not ideal, but needed to get the yeast in. Airlock went on and stored away to brew.

This is the second time we got a proper gravity reading on these small batches. Came out at 1.054 which is more or less in the range I was expecting. Means the beer will be around 5% to 5.5% alcohol, if all goes well.

We’ve done a few of these Brew Smith kits now and this was the easiest by far. Bottling will be in about two weeks, just after good beer week (www.goodbeerweek.com.au). Then another two weeks in the bottle before tasting and review.

Tagged , , , , , , , , , ,

First adventures – keeping things warm

Howdy!

So it’s been about five days since we did the brew I talked about in my last post, and I’ve been relatively happy with the progress.

As I mentioned in my previous post, there was some concern about keeping everything warm enough during the fermentation process.  We were also worried about the morning sun hitting the fermenting tub: the UV can harm your yeast and make generally bad flavours.  To solve these two problems, the brew spent the week wrapped in a blanket:

Beer needs to me tucked in nice and tight when it gets sleepy.

Beer needs to be tucked in nice and tight when it gets sleepy.

This worked surprisingly well.  The yeast manages to produce some of its own heat during the fermentation process, so this blanket kept everything in.  Although my house got as low as about 13 degrees C over night, the wort consistently sat at about 22 degrees C when I checked it in the morning.  It could be a little warmer, but this is still a great temperature. And it was relatively constant, so that’s great.

Another alternative I’ve heard being used is to place your fermenter in an old bar fridge (not on). Refrigerators are extremely well insulated, so this method will keep everything warm (or cool), and more importantly constant.

In warmer months, this method can also be used to keep things cool, just don’t leave the refrigerator on constantly, otherwise things will be too cool.  If you get a fancy enough fridge (or a wine fridge), you may even be able to set it to work at a higher temperature.

Generally, the higher the temperature, the faster the fermentation process is – to a point obviously; if things get too hot, you’ll kill your yeast.  According to the packet, the yeast we used has an optimal temperature range of 21-28 degrees C.  So since the we’re running on the lower end of that scale, the fermentation process will probably take about eight or nine days.

So next step: bottling!  But that’s still a few days away…

-Chas

Tagged , , , , , , ,