Tag Archives: home brew

Journey to home brew – Part 3, The Brewing

In this post I wrap up my story on how I came to making home brew. This follows on from post 1 and post 2.

In my last two posts I mentioned the slow journey to beer appreciation. In this post I’ll talk about the tentative steps, then plunge, into home brewing.

After the 366 Days of Beer challenge I knew that tasty beer is the only type of beer I want to drink. And I knew that only by trying new beers could I find some if the really good beers. There.were a lot of good and some bad craft beers. Surely that was the same with beers made out side of breweries, right?

During 2011 my good mate Ian had done some “on premises brewing” out at U Brew It on the north-west side of Melbourne. He decided to do his own brew and invited me along to help. It was fun. The set up was open and the people friendly. Plus the range of beers you could make was huge.
When we did the bottling there were a whole lot of others doing the same. You get chatting, sharing a couple glasses, and even swapping a six pack of beer or two.

In December 2011 I did a brew with my wife with a view to keep three slabs for our engagement party. The brew turned out quite well. We enjoyed three slabs over the next coupe months. But the three we kept in a cellar weren’t cold enough, and went off.
I made a quick return to U Brew It at the start of May 2012 to brew a golden ale. Then returned again just a day before the engagement party to bottle. The beer went down very well. Nearly all six slabs went in one night!

The intention was to return and do anyone one. But as 366 Days of Beer started taking off there wasn’t a need, or space, for that much beer.

Ian found out about a beer show called The Beer Frontier that use to be on Channel 31 here in Melbourne. The episodes were, and still are, on YouTube. Had some interesting segments including home brew. That opened my eyes up to what home brewing was all about. They were showing the full grain and full boil process, which was a bit daunting.

Then, on 2 November 2012 Crafty Pint sent out a the weekly newsletter with info about BrewSmith. For those who live in Australia and like great beer I can not recommend enough getting on board with Crafty Pint. The weekly newsletter alone is packed with fantastic information about what’s going on with craft beer.
The newsletter on that day included information on, and a competition, for BrewSmith. Now if you’ve been reading the blog you’ll know that we did a lot of BrewSmith beers. And we’ll probably keep doing a few more. Back in 2012 this was a real eye opener for me. I wanted to make good beer but didn’t want to spend massive cash on a set up. The BrewSmith set up allows minimal upfront cash and great beer.

It was around September-October that I decided that moving into home brew was a good idea. My birthday is in the middle of October and I thought it might be a good present. I considered the typical home brew kits such as the one from Australian Home Brewing (link might die in a month or two). I knew the importance of a bench capper so this is the one I was looking at. The alternative was a BrewSmith kit (again, link might die). After a lot of time, I spent over a month thinking about the two, I chose the BrewSmith kit.
Lucky for me my wonderful wife bought me both.

In January 2013 I started my first home brew. And ever since then it’s been fantastic.

I hope you have enjoyed my little story. For some people home brew was originally about saving money. For others it started with a “that’s a cool idea/gift/thing-to-do-one-day”. For a few it has been about trying to replicate or make something better than a beer they know. And for those like me, it was all about the appreciation for great beer.
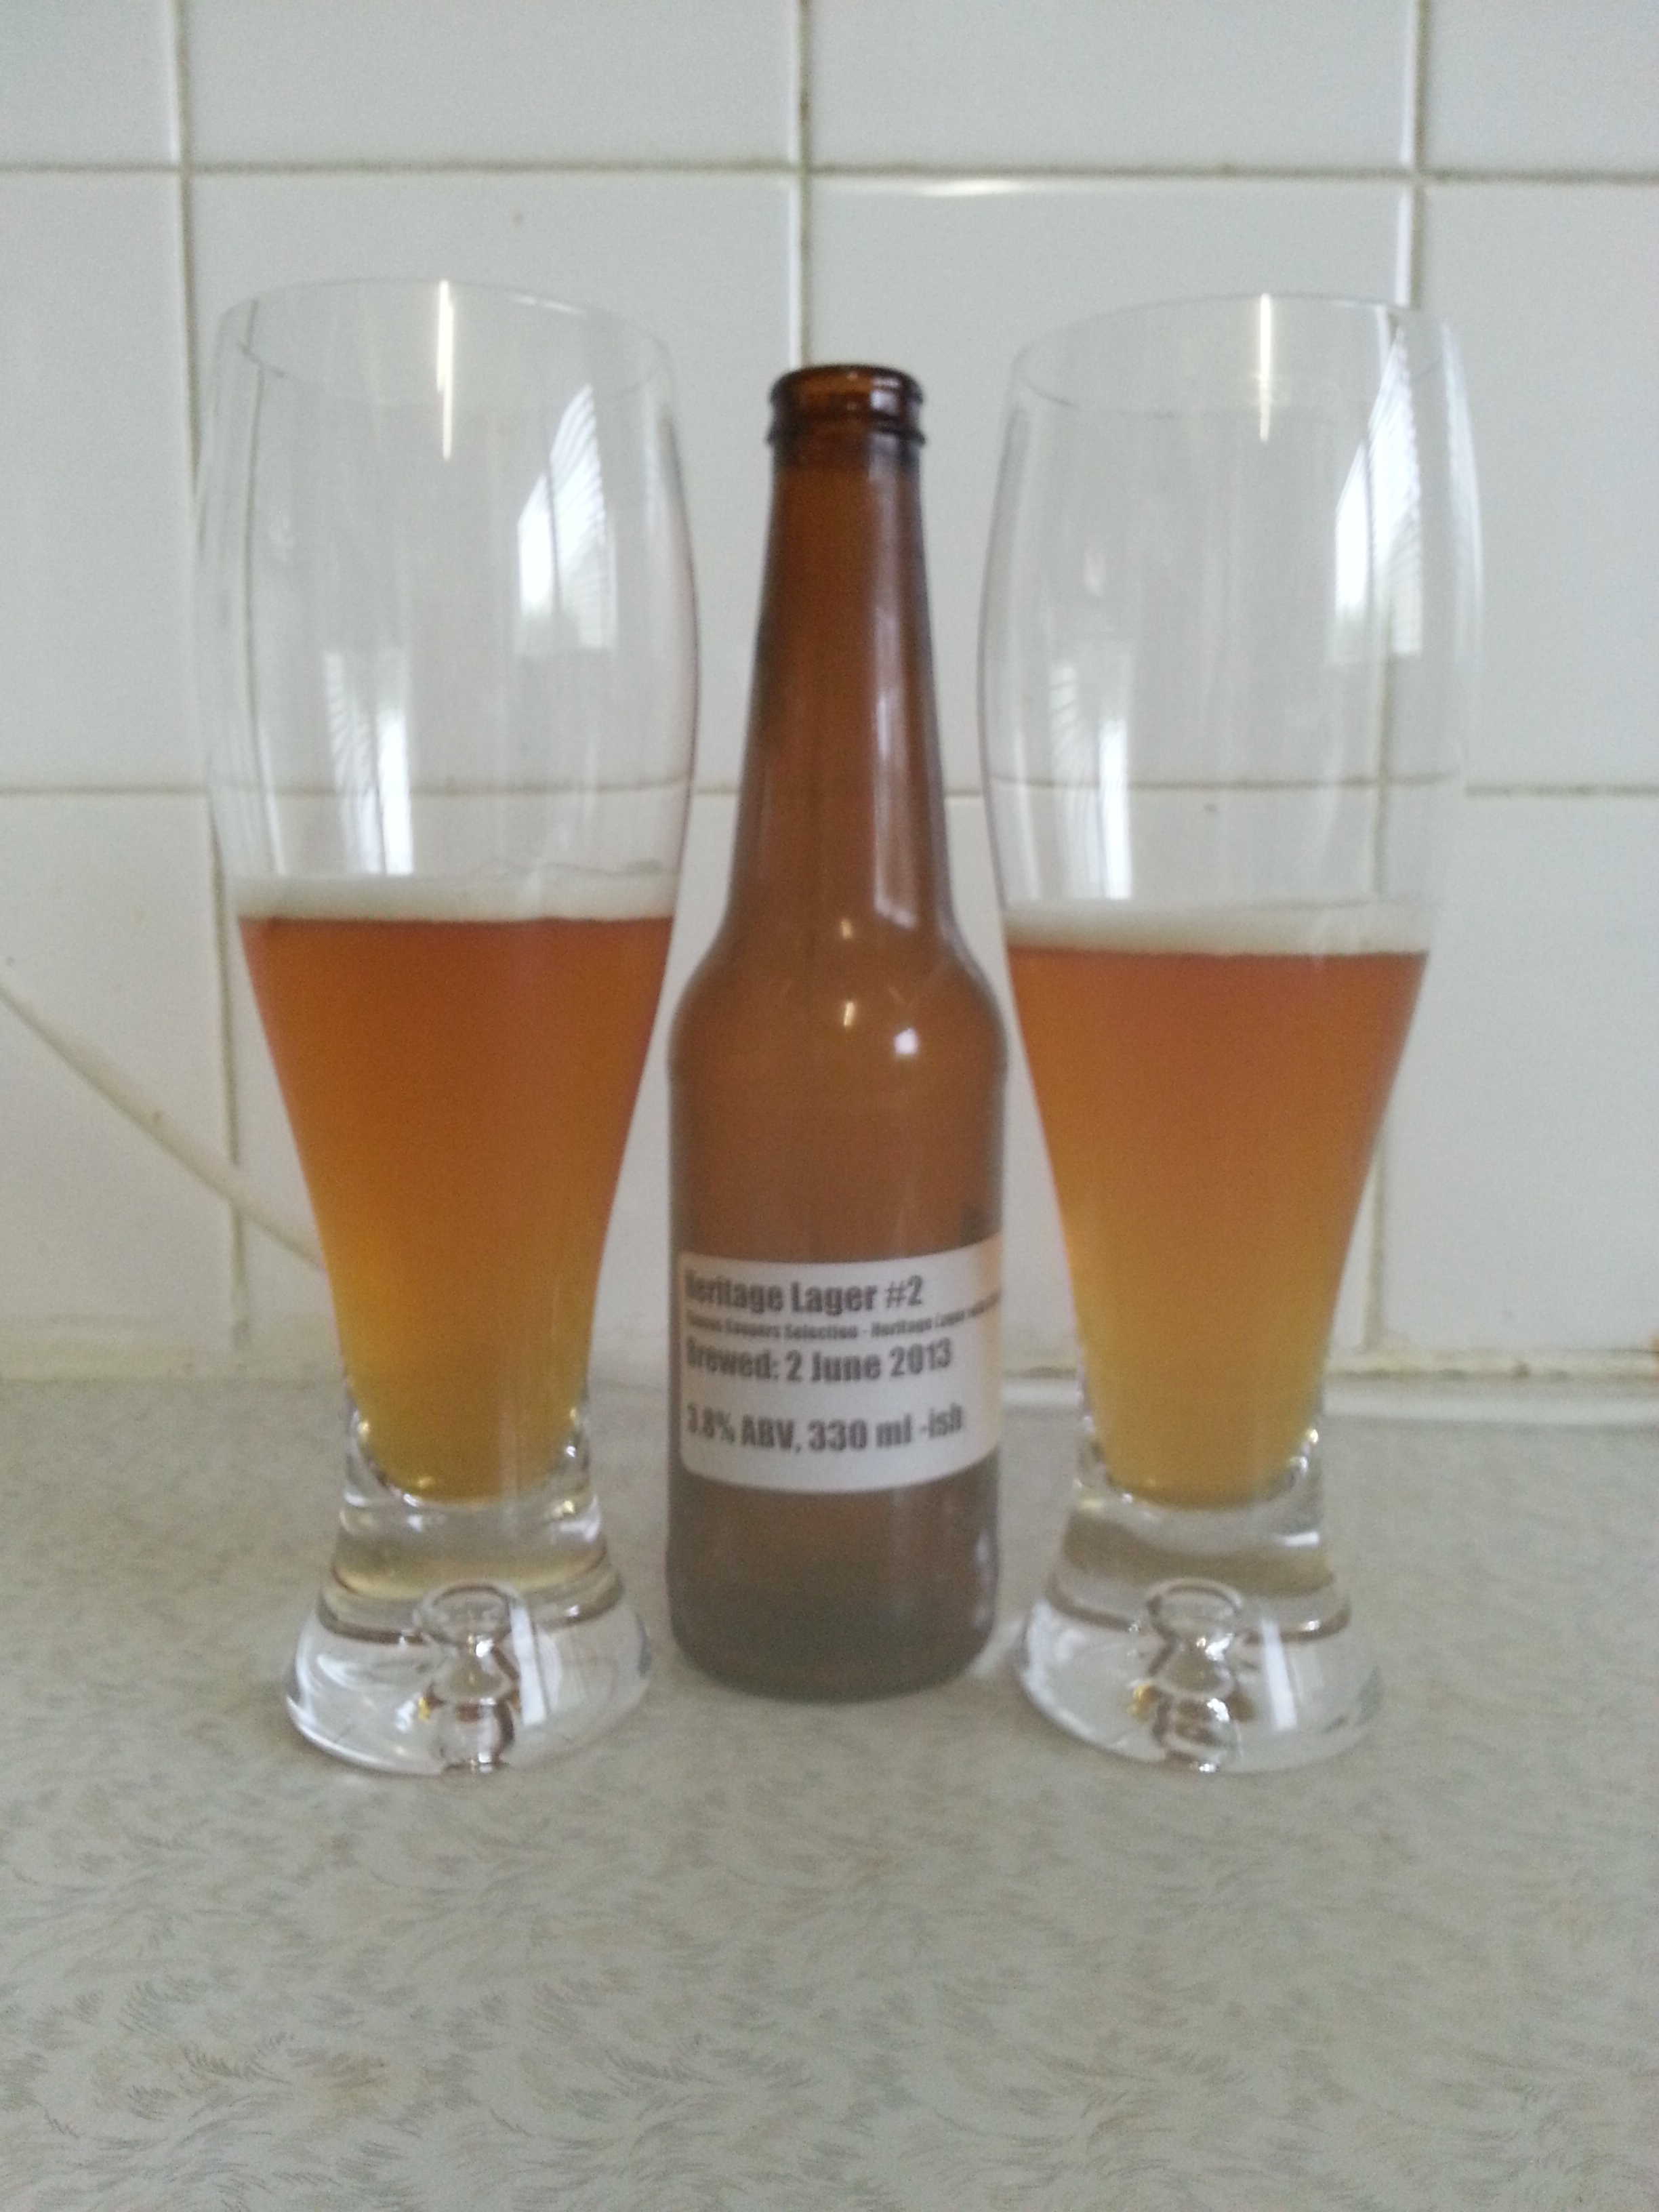
So far we haven’t made anything bad. The first lager was average, and the second one is better. We’ll keep brewing, sharing our knowledge and letting others know about the awesomeness of home brew.

-Mikey

Tagged , , ,

Handy Sections Added!

Have you ever come to this website and thought “I love We Make Home Brew!  Getting regular updates on different home brews is great, but if I want to find an older recipe, kit, or review, I have to scroll back through every thing, it’s just a whole lot of no fun that takes away from the otherwise enjoyable experience of reading about home brew.  I mean, hey, I like reading about home brew as much as the next guy, but who has the time?!”

Well, firstly, thank you for taking so much time to think about this humble site, and wanting to read older stories.  Secondly, we’ve got it sorted for you!

There is now a recipes section, a kits section, and a reviews section with listings by style to relevant articles.  Links to these sections are above with all the other sections.

So have a browse and check back regularly.  It will be fun to see the list grow!

– Chas

Tagged , ,

New Brew for New Financial Year, Happy Brew Financial Year!

Yeah, I know that’s a bit of a crap name for a post. I did want to do something witty, didn’t quite get there. Plus, the other options were pretty bad.

Black Rock Miners Stout

Black Rock Miners Stout can and fermenter

As Chas mentioned yesterday it was a busy weekend. Last if the lager was bottled. Then 5 litres of the Newcastle Brown Ale went into storage while the other 17 litres went into bottles.

There were tastings of a whole range of brews. Cider, dark ale, lager and porter. Reviews will be slowly going up over the next week out so. And then there was a brew.

I wanted to make something simple and easy. And I wanted another dark beer. When I picked up the kit for Newcastle Brown Ale I also grabbed a can of Black Rock Miners Stout. Picked up some “stout booster” as well. On some good advice I also grabbed a pack of Windsor Ale Yeast to replace the kit yeast.

Yep, some would say it’s a step backwards in home brew. But when you are running low on time, or just can’t be stuffed, a can kit does fine.

First there was the can as the base. The “stout booster” was a kilo mix of dry dark malt extract, light malt extract, and maybe dextrose. And lastly threw in the 900 grams of Dextrose, which was left over from the original Heritage Lager kit.

  • Black Rock Miners Stout – 1.7kg
  • Brew Blend Stout Booster #25 – 1kg
  • Dextrose – 900g
  • Danstar Windsor Ale Yeast – 11g

Had a lot of trouble with heat on this one. Didn’t really pay attention to how much boiling water went in at the start. As a result, even after for trays of ice, we had to leave the wort cool for half an hour before pitching the yeast. The lid, with airlock, was put on to prevent infection. Overall it was a real pain in the arse. There is a good lesson in there about temperature control.

Final gravity was 1.045. I was hoping for more. That’s three brews in a row where final gravity was less than what I wanted. If I had thought about it, I would of thrown in all the rest if the sugar in the house into the wort. Probably for the best I didn’t think of that at the time. Next brew will have a lot more dry and/or liquid malt extract. Or, maybe just a lot of grain. Hrmm, there’s a thought…

The wort was more bitter than expected. But I’m pretty sure this one will be a nice, somewhat basic and somewhat light, stout.

-Mikey

Tagged , , , , , , , , , , , ,

Thomas Coopers Heritage Lager #2 – Review

While Mikey has been quite good with his updates lately, especially with his ongoing Journey to Home Brew story, I have been quite slack.  We hadn’t done a proper brew in a couple weeks (I did bottle the Friedlieb Porter last weekend though), and I’ve just been generally busy/worn out.

Anyway, I got through all of that and had a weekend of home brew!  Not only was a hopped cider AND a stout made, but we also managed to bottle some brown ale, and the remainder of the lager, plus we tried four brews that are finally ready for drinking.  Mikey will be writing up the stout brew and reviewing two of the beers, I’ll write up the cider and reviewing the other two.

So, rather than one huge update with all of this, I’ll be trickling the updates out, starting with the review of the Thomas Coopers Heritage Lager here.

Mikey and I both got the same starter kit that came with the same can of Thomas Coopers Heritage Lager.  We made my can first and followed the directions to simply add a kilogram of dextrose to the wort.  While the beer turned out fairly OK, it wasn’t the most amazing thing either of us ever had.  So since Mikey had the same kit, we decided to try it with some malt rather than dextrose.

All in all, the addition of the malt made for a much better, more well rounded beer.20130707_151143

The beer was a fairly standard lager: there was nothing that stood out or was of any amazing interest.  The body was quite good though, there was a nice finish, and quite a lot of fragrance.

On the nose, there was a ton of fruit and a bit of sweetness.  This fruit continued on the first impression of the taste.  It was almost a passion fruit taste, but without the typical sourness associated with passion fruit.  With this was also the distinct taste of melon.

The beer had very little bitterness to it.  In my opinion, the addition of some bitterness would have been beneficial.  While the fruit was a lot of fun and made the beer light and easy to drink, that’s all there was to it.  With the addition of some bitterness, the dominant fruit flavours would hopefully have been countered, adding a little complexity to the beer.

On that note, the beer tapered off quite quickly after that.

Overall, the beer was simple, but very easily drinkable.  A lager can be difficult to rave about or go to deeply into.  They generally lack complexity and this beer was no exception.  I’ll happily continue to drink it though!

-Chas

Tagged , , , , , , ,

Summer Citrus Blonde Ale – Review

So the Summer Citrus Blonde Ale that we made a few weeks ago is done!  Once again, this one was from the guys at BrewSmith.

This beer was ready to drink pretty quickly.  Being a blonde, it was OK to drink without letting it condition for too long, although leaving it the bottle for awhile probably wouldn’t hurt it either.  It was a lovely light beer, so conditioning it longer wouldn’t have been of much benefit anyway.

First impressions on the aroma were great, albeit subdued.  The main thing that came out in the smell was citrus with a little bit of alcohol; although it’s possible my nose got a little confused and it was just the citrus.  Hunting for it, there was a bit of a smell of malt, but more of a lager smell than anything (although this beer was an ale).  Going further, there was the slightest hint of caramel, probably still from the malt.20130616_154041

As I mentioned, it was very light in feel, although not thin at all.  There was a good amount of body to it.  The citrus, which was dominant but not overpowering, gave everything a crispness that made the beer refreshing and not heavy at all.  Although lemon zest was used to give these flavours, it was definitively a general citrus feel rather than just lemon.

The citrus really cleared my head with every sip, making it extremely refreshing.  I was surprised at how much the coriander came through as well.  I was also surprised that I enjoyed the coriander!

Although the beer was not overly hopped, there was a slight amount of bitterness that interacted well with the citrus.  The hops gave no fruit or spice.  Some fruit would have been welcome (although not needed), although spice would have been inappropriate.

Being such a light beer, I’m sure this would be highly sessionable.  I didn’t get the alcohol content from Mikey, but maybe he’ll enlighten us in the comments.  I suppose the only problem I had with my tasting was that it was done during one of the coldest weeks we’ve had in Melbourne so far this year!  Having one (or five!) of these on a hot summer’s day would be no problem at all.

If I would change anything at all, I would probably add a little more bitterness to further compliment the citrus.  That, or a little more fruit in the aroma would serve the beer well.

As for food, a light BBQ (chicken perhaps) would be great, or something with a bit of spice.  The main thing I’d recommend though is steamed crab, especially with ample amounts of Old Bay seasoning.  That would be the way!

-Chas

P.S. I also had one of the malted ciders I made awhile ago.  It turned out great!  My house mate went crazy for it and stole the whole glass when I offered her a taste of what would have been my second bottle…  I’ll give one to Mikey to do a proper review of later.

Tagged , , , , , , , ,

Blondes and Browns, big brew day

Sunday was another brew day at my place and it was big, in many ways.

Newcastle Brown Ale

Newcastle Brown Ale ingredient list and instructions

First up was a trip for supplies from Australian Home Brewing, aka Liquorcraft, aka Brewcraft, aka something-something. We have done a fair few porters lately. They are pretty awesome and good over the colder months, but time for something else for the cold. An English brown ale was what I wanted. Ended up with a Newcastle Brown Ale kit, plus a basic stout kit for another day.

Then back in the Mikey mobile (aka ‘car’) and back to brew headquarters (aka ‘home’) for brew day.

First order of business. Bottle the lager. Final gravity was 1.012 which means the beer will only be 3.8% alcohol, after bottle conditioning. That’s a fair bit lower than what I was going for. Rather than just a cup of dextrose we should if put in half a kilo. That aside, the sample we took was quite promising. Should be a good session beer.

We have been having some over carbonation in a couple of my beers. Nothing horrid, but the IPA and coffee porter (only a couple sample bottles) have overflowed when opened if shaken even slightly. I’ve been using caster sugar for priming and a few people have suggested this might be the reason. That said there’s not a lot of info on the internet about different types of cane sugar. To test this I primed some bottles of the lager with caster sugar and others with carbonation drops. Had a mix of different bottle sizes as well.

After bottling the lager it was time to start brewing. Cracked open one of the Summer Citrus Blonde Ales and got stuck into it. Chas is going to get a review up soon, so I’ll leave it to him.

The brown ale was a mixed kit. There was chocolate malt (200g), a can of light liquid malt, a can of Nut Brown Ale, some Fuggles Hops, and Safale S-04 yeast.
The malt was left to steep for about 45 mins rather than the 20-30 recommended. Mainly because we were trying to do to much at once.

Chas got the liquid light malt in a pot and brought it to the hot break. And I cleaned the fermenter. Hops were added with the steeped grains. The recipe said an optional 400 grams of brown sugar could be added. Only had 300, but it went in. I finally finished cleaning the fermenter just in time for the fresh wort to go in. Last was the can of Nut Brown Ale. Like the lager, we found the liquid a bit to hot. Was a lot more manageable this time round. Finally, yeast went on and airlock.

  • Black Rock Nut Brown Ale – 1.7kg
  • Black Rock Light Liquid Malt – 1.5kg
  • Crushed Chocolate Malt – 200g
  • Soft Brown Sugar – 300g
  • Fuggles Hops pellets – 15g
  • Safale S-04 yest – 11.5g

Have to say that this was a bit of a hectic brew day. Started late and had a huge amount to do. Tried to do too many things at once. Even spilt some of the strained hops back into the fermenter. Luckily it wasn’t much.

The wort smelt great. Gravity reading was only 1.045 which is a bit below what I would expect for the style. Hopefully this yeast brings the final reading right down. Anything less than 4.5% and I’m going to be disappointed. So, a final gravity from about 1.012 or lower will be good.

-Mikey

Tagged , , , , , , , , , , , , , ,

Yeast!

Howdy!

I thought it would be good to talk about yeast: the magic little organism that turns sugars into alcohol through the process of fermentation.

I won’t go into the fermentation process, but if you’re curious, the Wikipedia articles are quite easy to follow.  Fermentation in general can be found here – this article is not specifically about alcohol fermentation, but explains the process in general.  Alcoholic fermentation information can be found here for further reading.

Yeast in general:

Really, you can use any kind of yeast for fermentation, even regular baker’s yeast bought at the super market, but the various brewing yeasts are specifically designed for taste and alcohol tolerance.

On that note, it is possible to kill your yeast if the alcohol content of your brew gets to high.  At this point, you can’t really get anymore fermentation going because even if you add more yeast, that will probably die too!  Then you’re left with a half fermented beer that still has lots of sugars in it, which would probably taste quite interesting, but not in a good way.  Don’t worry too much though, it’s easy to track down yeasts that will be good well into the high teens/twenties on alcohol percentages; these are generally wine making yeasts.

If you’re making a cider or anything with fruit, it’s also possible to use the wild yeast that naturally grows on fruit peels.  In fact, my mother uses this to make home made vinegar: her most interesting concoction was a banana vinegar!  The problem with using wild yeast is ensuring that it’s only the wild yeast that goes into your wort (or juice if doing cider) and not other bugs that will mess up your brew.  I have yet to attempt this, but it may be fun!

Yeast and temperature:

Yeast is pretty resilient, so if it gets too cold, you won’t kill it.  It just gets a bit sleepy and slows down a bit.  You can even freeze yeast if you want to preserve it.  This means that even if your wort gets a bit cold, things will keep working, just more slowly.  Although this isn’t too bad, be aware that if your wort is in the fermenting tub for too long, sediments may begin to taint the taste of your beer.

On the other side though, if your yeast gets too hot, it will probably die, just like anything else.  So although heat will help speed up the fermentation process, there is a point where you won’t get anymore benefit and the heat will actually be detrimental.  Make sure your wort is at specified temperatures before pitching your yeast.

Experimenting with yeast:

Of course it’s easiest to simply buy yeast from your local home brew supply store, but experimenting with different kinds of yeast can be a bit of fun.  The different strains that you can buy at a good home brew supply store have different characteristics for taste, optimal temperature, and alcohol tolerance.  This means that you’ll use a different yeast for different kinds of beers.

For example, there are specific kinds of yeast for ales, lagers, and wines.  With the few cider experiments I’ve done, I’ve always used an SN9 wine yeast and been happy with the results.  As it’s not desirable in a cider/wine, this type of yeast doesn’t leave any taste behind.  Sometimes you want some of that taste in your brew, and you can generally find a yeast that will do that for you.

That’s it on yeast for now!


-Chas

Tagged , , , ,

“The Friedlieb” Coffee Porter – first trial

Friedlieb Runge was a German chemist and the first person to isolate caffeine. Because of this, it’s only appropriate to name our ongoing coffee porter experiment after him!

As much as we liked the Brewsmith porter kits we did (we’re still waiting to see how the coffee version turned out), they’re only sold with enough ingredients to make about four litres – so what do we do when we want to make a big batch? Adding to that, they are a bit expensive when compared to sourcing the ingredients directly. Don’t get me wrong on this. The price of the Brewsmith kits is quite fair, but if you’re willing to take the time to try and recreate their recipes, you can save a bit of money. If you’re not willing to take the time to recreate the recipe, then hey, keep buying the kits because they do a great job.

Anyway, as a base, we used a recipe presented by the great Craig of Craigtube. If you haven’t checked this guy out yet, do it! We weren’t able to get all the ingredients here in Australia, plus we didn’t want to use a canned wort with bittering hops in it, so there was some improvising.

20130609_182318

Since this was the first attempt, it was only a 4 litre batch.

The recipe and ingredients we went with was as follows:

  • 580 grams light liquid malt extract
  • 90 grams dark dry malt extract
  • 90 grams dark crystal
  • 50 grams chocolate malt
  • 40 grams peated malt
  • 50 grams melanoidin malt
  • 60 grams rye malt
  • 3 grams Willamette hops (bittering)
  • 3 grams Fuggles hops (taste)
  • 3 grams Fuggles hops (aroma)
  • 8 shots expresso
  • 1 cup brown sugar
  • Windsor style ale yeast

Steep the grains (using a grain bag) in about two litres of water for 20 minutes (on reflection we probably should have done 40…). When this is done, remove the grains and sparge them with a litre of boiling water.

Bring this three litres up to a boil and throw in three grams of Willamette hops for the start of your thirty minute total boiling period. At the 15 minute mark, put in three grams of Fuggles hops. Finally, with five minutes remaining, put in another three grams of Fuggles.

At the end of the thirty minute boil, turn off the heat and put in the eight shots of espresso as well as the brown sugar and give it a good stir. Put a lid on the pot and immerse it in a sink of cold water for twenty minutes, changing the water halfway through.

Throw this all into a five litre carboy, and top up with one litre of water. Try to get the temperature to between about 18 and 26 degrees with this top up.

Pitch the yeast and you’re done!

Other Notes

We got a gravity reading of 1.054, so we’re expecting an alcohol content of somewhere in the mid 4% range after bottle conditioning; I imagine the final gravity will be a little high due to the yeast type as well as the coffee, which isn’t fermentable but adding to the specific gravity.

In relation to hops, I found that the Willamette had bitter and dry smell with a hint of spice. The Fuggles were less bitter, with a more fragrant fruity/floral smell.

While the wort was boiling, the chocolate was quite overpowering when right over the stove, the smokiness came out quite a bit when I stood back. There weren’t any big hops smells, but when tasting the wort, they were definitely there and quite nice.

Overall, this should be a pretty good brew. We’ll see if it’s anything at all like the Brewsmith kit, but it should taste good any how.

-Chas

Tagged , , , , , , , , , ,

Moving, from small to big

Back when I started looking into home brewing I didn’t know where to start. In my first post I talked about the two types of beer kits I got. I started with the smaller, and slightly more complex kit from Brew Smith. The beer was good, really good. So I stuck with it and made a few more.

Finally time came to do the other kit. The bigger kit. The simpler kit. And I’m worried about the quality. Chas picked up exactly the same kit and the lager turned out rougher than I would have liked.

To try and make sure my version turns out a bit better I decided to replace the dextrose with some liquid malt. Got some advice at Aussie Home Brewers and picked up some Light Pilsner Malt Extract.

The brew was done on Sunday the 2nd and went pretty smoothly. A little too much heat, which wasn’t a huge problem as I really wanted a good original gravity and had to play around a bit. The gravity reading wasn’t exactly where I wanted it, so a cup (75 grams) of dextrose was thrown in at the end.

First few days the beer has been fermenting away as expected. Has slowed down the last 4-5 days and plan to bottle this weekend.

-Mikey

Tagged , , , , , , , , ,

Bottling the dark ale and other updates

Hi!

We had a busy day today.  Mikey came by and we bottled the Dead Guy Dark Ale I made two weeks ago.  We got 61 bottles in total and a final specific gravity of 1.012.  This should give us an alcohol content of about 4.4% once bottle conditioning is finished.  Since it’s a dark beer, I want to give it at least three to four weeks before trying it.  Home brewing is a waiting game…

My 61 new friends!

My 61 new friends!

The hops profile calmed down a little bit, which was good because I wasn’t crazy about it when it was just wort.  I think once the beer is given some time to condition in the bottle, it should turn out pretty well.  Hopefully things will all settle together and add some complexities and body to the brew.

After bottling, we also brewed up a porter, but I’ll do a separate post on that later.

In other news, we’ve also created two new sections.  The first one is Wildly Inaccurate Facts About Beer.  To counter this, we’ve also added a section called Wildly Accurate Facts About Beer.  The topics of these sections are pretty self explanatory.

That’s about it for now!

-Chas

Tagged , , , , , , ,