Summer Citrus Blonde Ale – Review

So the Summer Citrus Blonde Ale that we made a few weeks ago is done!  Once again, this one was from the guys at BrewSmith.

This beer was ready to drink pretty quickly.  Being a blonde, it was OK to drink without letting it condition for too long, although leaving it the bottle for awhile probably wouldn’t hurt it either.  It was a lovely light beer, so conditioning it longer wouldn’t have been of much benefit anyway.

First impressions on the aroma were great, albeit subdued.  The main thing that came out in the smell was citrus with a little bit of alcohol; although it’s possible my nose got a little confused and it was just the citrus.  Hunting for it, there was a bit of a smell of malt, but more of a lager smell than anything (although this beer was an ale).  Going further, there was the slightest hint of caramel, probably still from the malt.20130616_154041

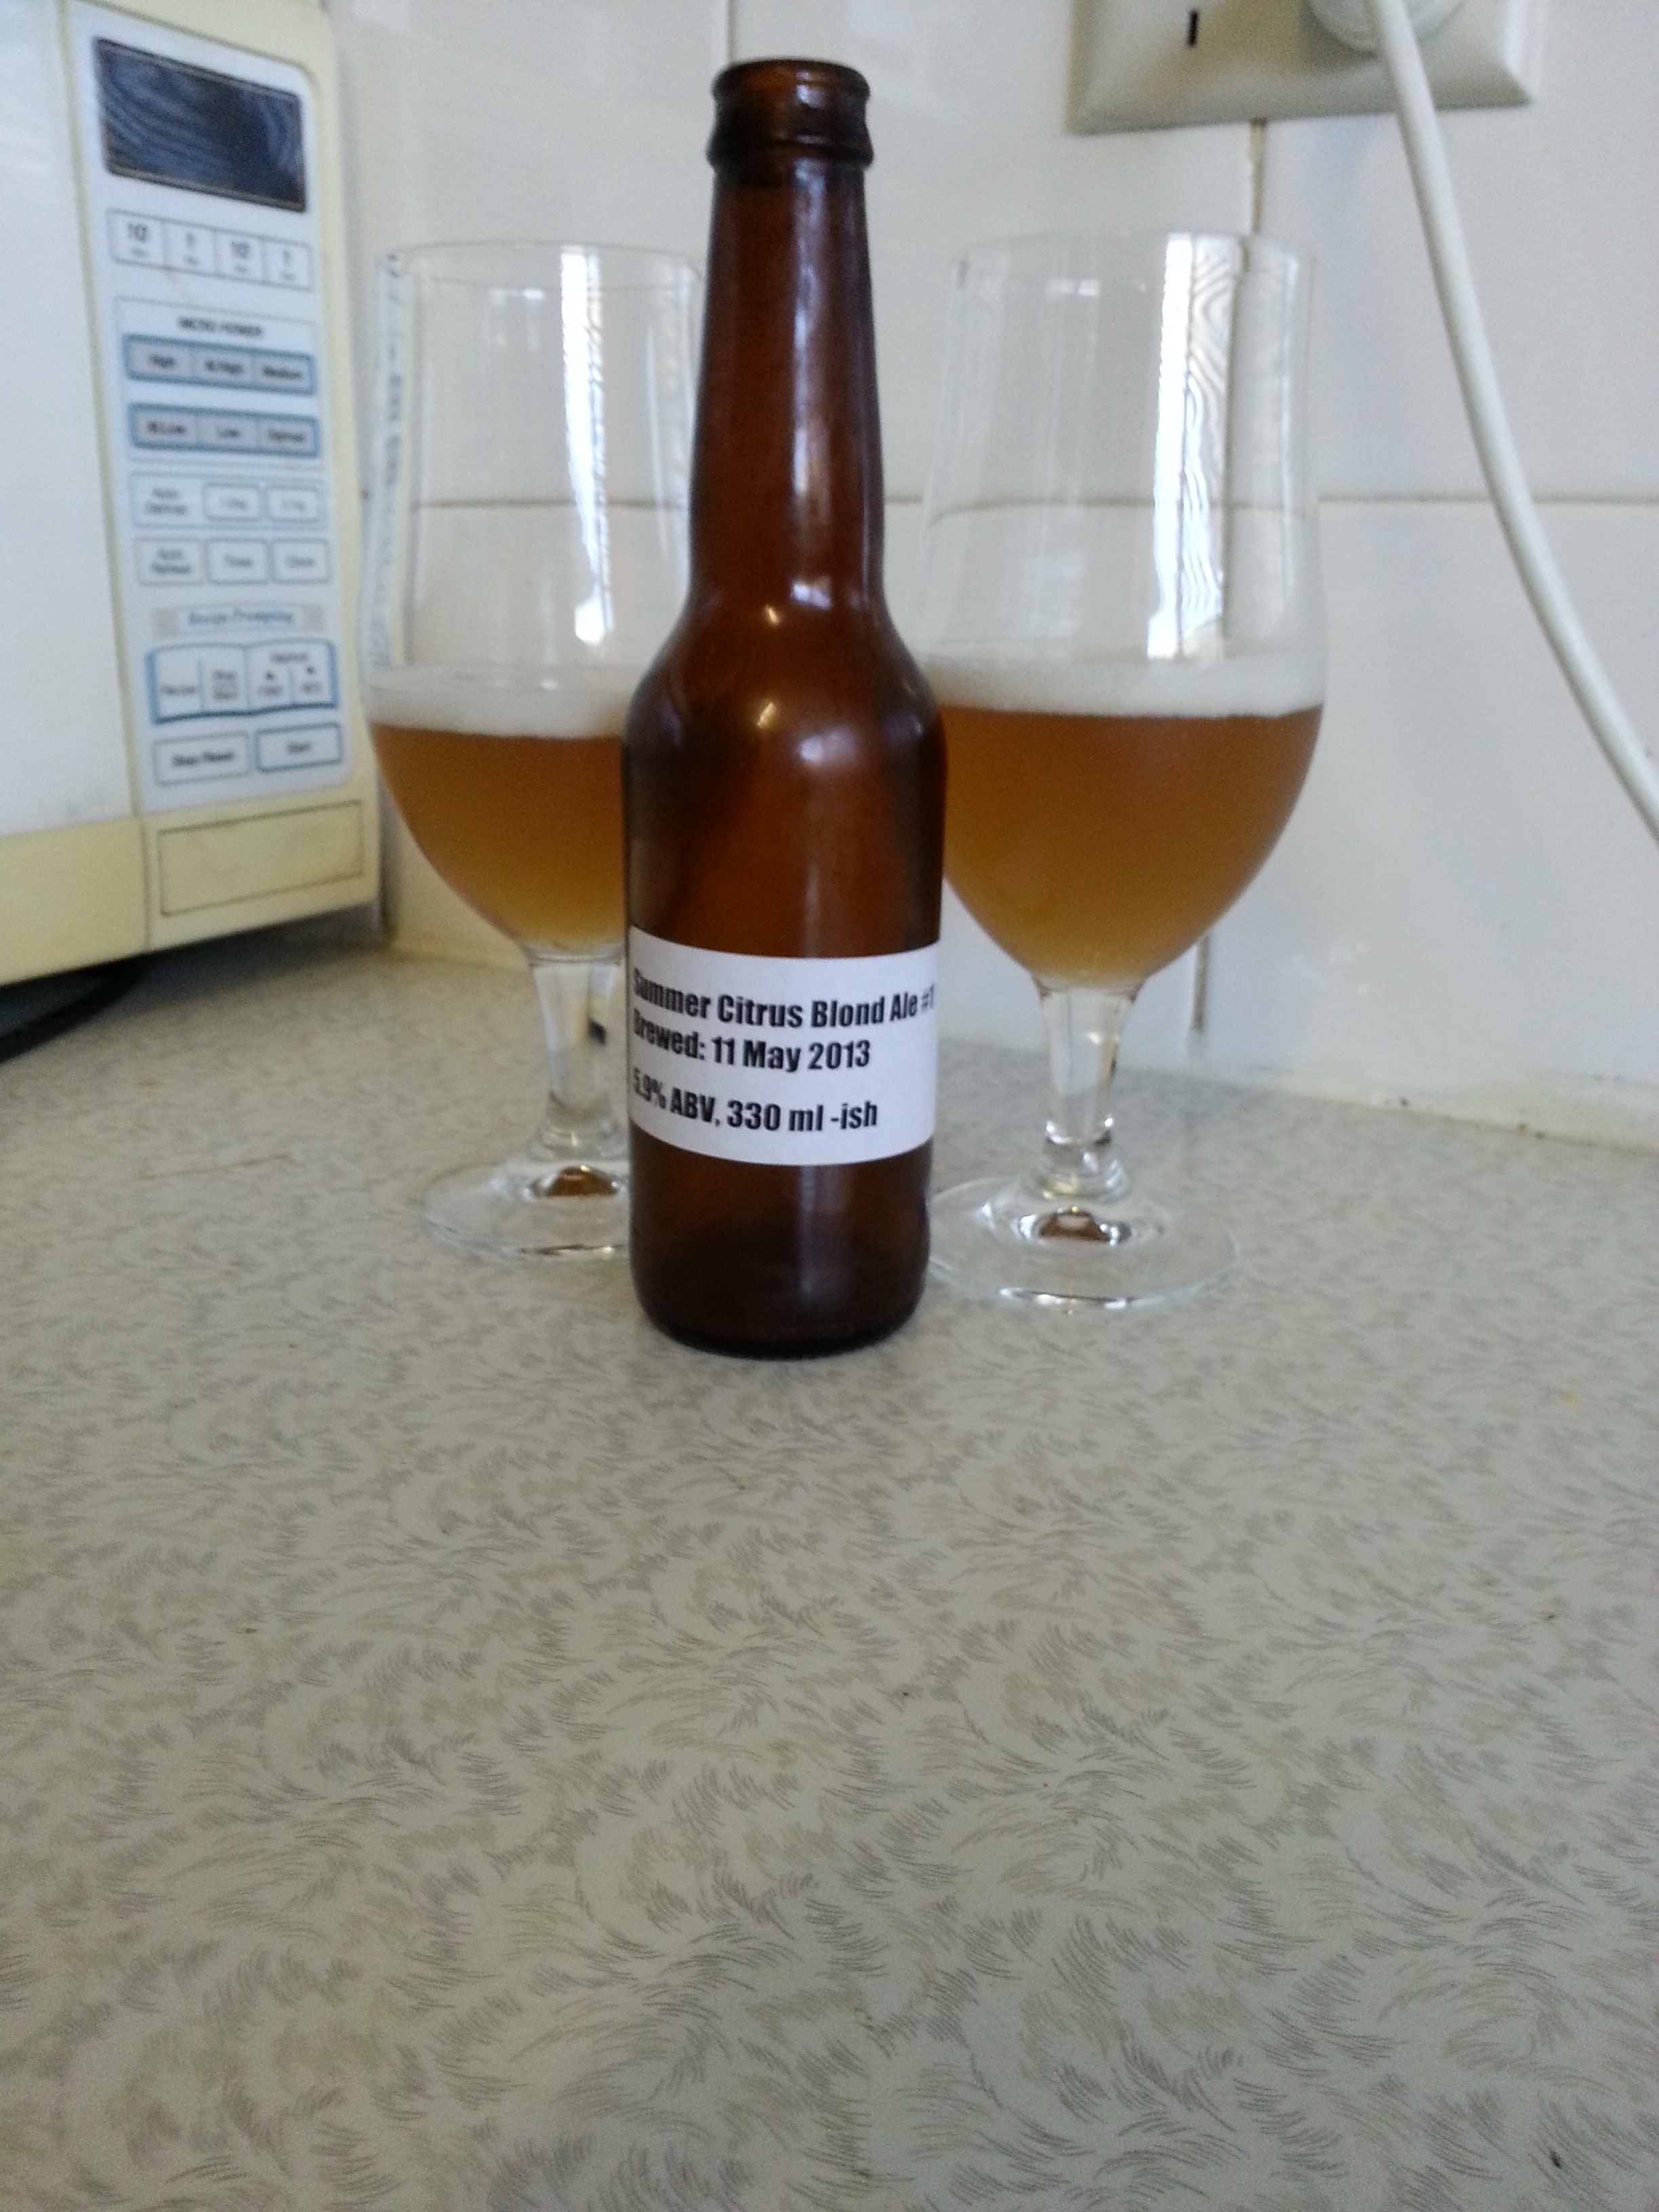
As I mentioned, it was very light in feel, although not thin at all.  There was a good amount of body to it.  The citrus, which was dominant but not overpowering, gave everything a crispness that made the beer refreshing and not heavy at all.  Although lemon zest was used to give these flavours, it was definitively a general citrus feel rather than just lemon.

The citrus really cleared my head with every sip, making it extremely refreshing.  I was surprised at how much the coriander came through as well.  I was also surprised that I enjoyed the coriander!

Although the beer was not overly hopped, there was a slight amount of bitterness that interacted well with the citrus.  The hops gave no fruit or spice.  Some fruit would have been welcome (although not needed), although spice would have been inappropriate.

Being such a light beer, I’m sure this would be highly sessionable.  I didn’t get the alcohol content from Mikey, but maybe he’ll enlighten us in the comments.  I suppose the only problem I had with my tasting was that it was done during one of the coldest weeks we’ve had in Melbourne so far this year!  Having one (or five!) of these on a hot summer’s day would be no problem at all.

If I would change anything at all, I would probably add a little more bitterness to further compliment the citrus.  That, or a little more fruit in the aroma would serve the beer well.

As for food, a light BBQ (chicken perhaps) would be great, or something with a bit of spice.  The main thing I’d recommend though is steamed crab, especially with ample amounts of Old Bay seasoning.  That would be the way!

-Chas

P.S. I also had one of the malted ciders I made awhile ago.  It turned out great!  My house mate went crazy for it and stole the whole glass when I offered her a taste of what would have been my second bottle…  I’ll give one to Mikey to do a proper review of later.

Tagged , , , , , , , ,

Blondes and Browns, big brew day

Sunday was another brew day at my place and it was big, in many ways.

Newcastle Brown Ale

Newcastle Brown Ale ingredient list and instructions

First up was a trip for supplies from Australian Home Brewing, aka Liquorcraft, aka Brewcraft, aka something-something. We have done a fair few porters lately. They are pretty awesome and good over the colder months, but time for something else for the cold. An English brown ale was what I wanted. Ended up with a Newcastle Brown Ale kit, plus a basic stout kit for another day.

Then back in the Mikey mobile (aka ‘car’) and back to brew headquarters (aka ‘home’) for brew day.

First order of business. Bottle the lager. Final gravity was 1.012 which means the beer will only be 3.8% alcohol, after bottle conditioning. That’s a fair bit lower than what I was going for. Rather than just a cup of dextrose we should if put in half a kilo. That aside, the sample we took was quite promising. Should be a good session beer.

We have been having some over carbonation in a couple of my beers. Nothing horrid, but the IPA and coffee porter (only a couple sample bottles) have overflowed when opened if shaken even slightly. I’ve been using caster sugar for priming and a few people have suggested this might be the reason. That said there’s not a lot of info on the internet about different types of cane sugar. To test this I primed some bottles of the lager with caster sugar and others with carbonation drops. Had a mix of different bottle sizes as well.

After bottling the lager it was time to start brewing. Cracked open one of the Summer Citrus Blonde Ales and got stuck into it. Chas is going to get a review up soon, so I’ll leave it to him.

The brown ale was a mixed kit. There was chocolate malt (200g), a can of light liquid malt, a can of Nut Brown Ale, some Fuggles Hops, and Safale S-04 yeast.
The malt was left to steep for about 45 mins rather than the 20-30 recommended. Mainly because we were trying to do to much at once.

Chas got the liquid light malt in a pot and brought it to the hot break. And I cleaned the fermenter. Hops were added with the steeped grains. The recipe said an optional 400 grams of brown sugar could be added. Only had 300, but it went in. I finally finished cleaning the fermenter just in time for the fresh wort to go in. Last was the can of Nut Brown Ale. Like the lager, we found the liquid a bit to hot. Was a lot more manageable this time round. Finally, yeast went on and airlock.

  • Black Rock Nut Brown Ale – 1.7kg
  • Black Rock Light Liquid Malt – 1.5kg
  • Crushed Chocolate Malt – 200g
  • Soft Brown Sugar – 300g
  • Fuggles Hops pellets – 15g
  • Safale S-04 yest – 11.5g

Have to say that this was a bit of a hectic brew day. Started late and had a huge amount to do. Tried to do too many things at once. Even spilt some of the strained hops back into the fermenter. Luckily it wasn’t much.

The wort smelt great. Gravity reading was only 1.045 which is a bit below what I would expect for the style. Hopefully this yeast brings the final reading right down. Anything less than 4.5% and I’m going to be disappointed. So, a final gravity from about 1.012 or lower will be good.

-Mikey

Tagged , , , , , , , , , , , , , ,

Yeast!

Howdy!

I thought it would be good to talk about yeast: the magic little organism that turns sugars into alcohol through the process of fermentation.

I won’t go into the fermentation process, but if you’re curious, the Wikipedia articles are quite easy to follow.  Fermentation in general can be found here – this article is not specifically about alcohol fermentation, but explains the process in general.  Alcoholic fermentation information can be found here for further reading.

Yeast in general:

Really, you can use any kind of yeast for fermentation, even regular baker’s yeast bought at the super market, but the various brewing yeasts are specifically designed for taste and alcohol tolerance.

On that note, it is possible to kill your yeast if the alcohol content of your brew gets to high.  At this point, you can’t really get anymore fermentation going because even if you add more yeast, that will probably die too!  Then you’re left with a half fermented beer that still has lots of sugars in it, which would probably taste quite interesting, but not in a good way.  Don’t worry too much though, it’s easy to track down yeasts that will be good well into the high teens/twenties on alcohol percentages; these are generally wine making yeasts.

If you’re making a cider or anything with fruit, it’s also possible to use the wild yeast that naturally grows on fruit peels.  In fact, my mother uses this to make home made vinegar: her most interesting concoction was a banana vinegar!  The problem with using wild yeast is ensuring that it’s only the wild yeast that goes into your wort (or juice if doing cider) and not other bugs that will mess up your brew.  I have yet to attempt this, but it may be fun!

Yeast and temperature:

Yeast is pretty resilient, so if it gets too cold, you won’t kill it.  It just gets a bit sleepy and slows down a bit.  You can even freeze yeast if you want to preserve it.  This means that even if your wort gets a bit cold, things will keep working, just more slowly.  Although this isn’t too bad, be aware that if your wort is in the fermenting tub for too long, sediments may begin to taint the taste of your beer.

On the other side though, if your yeast gets too hot, it will probably die, just like anything else.  So although heat will help speed up the fermentation process, there is a point where you won’t get anymore benefit and the heat will actually be detrimental.  Make sure your wort is at specified temperatures before pitching your yeast.

Experimenting with yeast:

Of course it’s easiest to simply buy yeast from your local home brew supply store, but experimenting with different kinds of yeast can be a bit of fun.  The different strains that you can buy at a good home brew supply store have different characteristics for taste, optimal temperature, and alcohol tolerance.  This means that you’ll use a different yeast for different kinds of beers.

For example, there are specific kinds of yeast for ales, lagers, and wines.  With the few cider experiments I’ve done, I’ve always used an SN9 wine yeast and been happy with the results.  As it’s not desirable in a cider/wine, this type of yeast doesn’t leave any taste behind.  Sometimes you want some of that taste in your brew, and you can generally find a yeast that will do that for you.

That’s it on yeast for now!


-Chas

Tagged , , , ,

“The Friedlieb” Coffee Porter – first trial

Friedlieb Runge was a German chemist and the first person to isolate caffeine. Because of this, it’s only appropriate to name our ongoing coffee porter experiment after him!

As much as we liked the Brewsmith porter kits we did (we’re still waiting to see how the coffee version turned out), they’re only sold with enough ingredients to make about four litres – so what do we do when we want to make a big batch? Adding to that, they are a bit expensive when compared to sourcing the ingredients directly. Don’t get me wrong on this. The price of the Brewsmith kits is quite fair, but if you’re willing to take the time to try and recreate their recipes, you can save a bit of money. If you’re not willing to take the time to recreate the recipe, then hey, keep buying the kits because they do a great job.

Anyway, as a base, we used a recipe presented by the great Craig of Craigtube. If you haven’t checked this guy out yet, do it! We weren’t able to get all the ingredients here in Australia, plus we didn’t want to use a canned wort with bittering hops in it, so there was some improvising.

20130609_182318

Since this was the first attempt, it was only a 4 litre batch.

The recipe and ingredients we went with was as follows:

  • 580 grams light liquid malt extract
  • 90 grams dark dry malt extract
  • 90 grams dark crystal
  • 50 grams chocolate malt
  • 40 grams peated malt
  • 50 grams melanoidin malt
  • 60 grams rye malt
  • 3 grams Willamette hops (bittering)
  • 3 grams Fuggles hops (taste)
  • 3 grams Fuggles hops (aroma)
  • 8 shots expresso
  • 1 cup brown sugar
  • Windsor style ale yeast

Steep the grains (using a grain bag) in about two litres of water for 20 minutes (on reflection we probably should have done 40…). When this is done, remove the grains and sparge them with a litre of boiling water.

Bring this three litres up to a boil and throw in three grams of Willamette hops for the start of your thirty minute total boiling period. At the 15 minute mark, put in three grams of Fuggles hops. Finally, with five minutes remaining, put in another three grams of Fuggles.

At the end of the thirty minute boil, turn off the heat and put in the eight shots of espresso as well as the brown sugar and give it a good stir. Put a lid on the pot and immerse it in a sink of cold water for twenty minutes, changing the water halfway through.

Throw this all into a five litre carboy, and top up with one litre of water. Try to get the temperature to between about 18 and 26 degrees with this top up.

Pitch the yeast and you’re done!

Other Notes

We got a gravity reading of 1.054, so we’re expecting an alcohol content of somewhere in the mid 4% range after bottle conditioning; I imagine the final gravity will be a little high due to the yeast type as well as the coffee, which isn’t fermentable but adding to the specific gravity.

In relation to hops, I found that the Willamette had bitter and dry smell with a hint of spice. The Fuggles were less bitter, with a more fragrant fruity/floral smell.

While the wort was boiling, the chocolate was quite overpowering when right over the stove, the smokiness came out quite a bit when I stood back. There weren’t any big hops smells, but when tasting the wort, they were definitely there and quite nice.

Overall, this should be a pretty good brew. We’ll see if it’s anything at all like the Brewsmith kit, but it should taste good any how.

-Chas

Tagged , , , , , , , , , ,

Moving, from small to big

Back when I started looking into home brewing I didn’t know where to start. In my first post I talked about the two types of beer kits I got. I started with the smaller, and slightly more complex kit from Brew Smith. The beer was good, really good. So I stuck with it and made a few more.

Finally time came to do the other kit. The bigger kit. The simpler kit. And I’m worried about the quality. Chas picked up exactly the same kit and the lager turned out rougher than I would have liked.

To try and make sure my version turns out a bit better I decided to replace the dextrose with some liquid malt. Got some advice at Aussie Home Brewers and picked up some Light Pilsner Malt Extract.

The brew was done on Sunday the 2nd and went pretty smoothly. A little too much heat, which wasn’t a huge problem as I really wanted a good original gravity and had to play around a bit. The gravity reading wasn’t exactly where I wanted it, so a cup (75 grams) of dextrose was thrown in at the end.

First few days the beer has been fermenting away as expected. Has slowed down the last 4-5 days and plan to bottle this weekend.

-Mikey

Tagged , , , , , , , , ,

Hello, is it me you’re looking for?

A new name, a new home and a new look. Our blog has moved. The quirky, somewhat helpful information and brewers are the same.
As they say at bingo “Winner winner, chicken dinner”, or for all you corporate types “Win Win”, or for all you gamers “\/\/00+”, or for all… no, I think that’s enough.

So welcome all our old and new readers. Brews will keep coming and lots of stuff from us is on the way.

-Mikey

PS, A big “Thank You” to our Manager for Change Management, Suze, who did pretty much everything for the move!

Bottling the dark ale and other updates

Hi!

We had a busy day today.  Mikey came by and we bottled the Dead Guy Dark Ale I made two weeks ago.  We got 61 bottles in total and a final specific gravity of 1.012.  This should give us an alcohol content of about 4.4% once bottle conditioning is finished.  Since it’s a dark beer, I want to give it at least three to four weeks before trying it.  Home brewing is a waiting game…

My 61 new friends!

My 61 new friends!

The hops profile calmed down a little bit, which was good because I wasn’t crazy about it when it was just wort.  I think once the beer is given some time to condition in the bottle, it should turn out pretty well.  Hopefully things will all settle together and add some complexities and body to the brew.

After bottling, we also brewed up a porter, but I’ll do a separate post on that later.

In other news, we’ve also created two new sections.  The first one is Wildly Inaccurate Facts About Beer.  To counter this, we’ve also added a section called Wildly Accurate Facts About Beer.  The topics of these sections are pretty self explanatory.

That’s about it for now!

-Chas

Tagged , , , , , , ,

Buying in bulk

If you’ve taken a look at the Rules Of Home Brew you’ll have seen my advice about always having plenty of consumables such as bottle caps on hand.

Well, I took my own advice and bought this!

Yep, that's 1000 caps

Yep, that’s 1000 caps

I needed more bottle caps because Mikey and I will be bottling the the dark ale this weekend, and it just made financial sense.

Basically, as with anything, the more you buy, the cheaper it is, so buying 1000 caps is quite affordable. I would have got more sanitiser and sugar, but I’ve got plenty of that.

Adding to that, I was already shopping on line for some home brew supplies. Mikey and I have had some good luck with the BrewSmith kits, so we’ve decided to try and replicate one using our own recipe. We’ll be brewing that this weekend, and I’ll post the recipe then.

Unfortunately in my big online order, I forgot to include yeast! I have some spare yeast floating around, but it’s not the right kind, so I’ll have to pop down to my local home brew store before brew day. I’m not going to do a whole mail order just for a little bit of yeast…

Funny though, I was speaking to a friend about my horror at forgetting the yeast, and, since my friend isn’t a nerd, he didn’t know about all the different types of yeast and the importance of using the correct one.  Needless today, he now knows plenty!

Anyway, I’m pretty excited about my caps! I’m going to split them with Mikey so that we both get cappy goodness.

-Chas

Tagged , , , , , ,

Apple and Rhubarb sour cider – Review

Apple and Rhubarb sour Cider

Apple and Rhubarb sour Cider in glasses

As you have read already, Chas is making cider. My views on this are pretty clear. Cider is not beer and therefore not as good. I’m prepared to change that view if there are ciders that can show their complexity and range.

This might just be the first cider to do that.

First, it’s not sickly sweet, or driven by sweetness, like a lot of commercial ciders.
Second, it’s for more than just one flavour. The majority of commercial ciders are apple flavour. There’s more range now but still it’s one flavour: pear, raspberry, strawberry, and any other berry you can think of.

Third, commercial cider has to be served very cold for it to be drinkable, but this one… no wait, it still needs that.

There is a lot of sourness here. And I do mean a lot. There’s just enough sweetness to prevent this becoming undrinkable. Keeping this cold helps a huge amount.

A quick note on the gravity. Original was 1.058, final was 0.994. That gives it an alcohol content of 8.9%. As a result there is a big body here that helps hold it all together and drives the big flavour.

My criticism is that:

  1. It’s not a beer.
  2. The sourness becomes a bit too much by the end of a glass.
  3. The alcohol level stops it from being a session drink.
  4. The flavours could be slightly better balanced.

Overall I’m pretty happy to drink this non-beer.

-Mikey

Tagged , , , , ,

Dark Dead Guy Ale

Well…

It has been an exciting week!  It was Good Beer Week, which meant lots of great stuff to try around Melbourne.  I’m not quite as hard core as Mikey, but I still managed to get more than a few brews under my belt.  Although this site is technically home brew related, if we get lucky Mikey may talk about Good Beer Week.  We’ll see!

However, I still managed to make some home brew: Dark Dead Guy Ale from Australian Home Brewing.

This kit was pretty cruisy, but quite fun.  It called for a 30 minute boil of some hops and then just mixing that in with a kit can and some malt into a 30 litre fermenter.

The Hops

The kit included two hop varieties: Perle hops (alpha 6%-10%) and Saaz Hops (3%-4.5%).

Now, I’ve still got A LOT to learn about hops, but it was great to be able to smell the difference.  I’ve included the alpha acid levels above mostly so that when I do learn more about hops, I’ll have a reference!

The Perle was the taste hops, and about 14 grams of that was thrown in for the 30 minutes.  Much to my housemate’s displeasure, this filled the house with the lovely smell of hops.  Perle has a great spiciness about it, and it was a pleasure to stand over the stove breathing in it.

At the 25 minute mark, I threw in anotheLast five minutes of the boil - all hops added!r 14 grams of the Perle as well as 10 grams of the Saaz.  These late additions were for aroma.

Last five minutes of the boil – all hops added!

It was amazing how the Saaz changed up the smell entirely.  I found that although I found the Perle a bit spicy, it had a lot more bitter to it in smell.  The Saaz, on the other hand, was much spicier, and less bitter than the Perle.

They had their own complexities too, and now, upon writing this, I realise I should have taken some notes… Anyway, it was very interesting how the aroma changed quite abruptly upon adding the Saaz.

Following that was steeping for 20 minutes.

The Rest of It

While all that was going on, the contents of the two cans went into my (sanitised) fermenter and were stirred together with some water.

The rest of this is child’s play.  Pour the hops through a strainer, top up to 21 litres, getting the temperature into the 18-24 degrees C range, take a gravity reading, then pitch your yeast.

For those who are curious, the yeast that was supplied with the kit was a BRY97 American Westcoast Ale Yeast.  No surprises that I used an ale yeast to make an ale…

20130526_155852The original specific gravity was 1.040, so, as with the last big batch, we should get something between 4.5%-5% after bottling.  Maybe something a bit higher.  Although the OSG is a little higher than the lager, I don’t expect to get as low an FSG as I did with the lager since this one is generally just a thicker beer… we’ll see.

The wort was a little interesting in taste.  The hops was quite bold, and, I have to say, a little confronting.  Not confronting in “oh wow, that just opened my eyes to a new world,” no, it was confronting in a “oh wow, that hobo isn’t wearing any pants” kind of way.  Maybe not that bad…  I think it will settle down in the fermenter.  Then I want to give it at least a month in the bottle.

Finally, I was a bit worried at first because things didn’t start bubbling for quite a while.  I gave the fermenter a squeeze and things were definitely sealed up, so I was a bit concerned.  To my pleasure when I got home from work today, it was going nuts!  Probably the most energy I’ve seen in an airlock since I’ve started.

This is an excitable brew…

-Chas

Tagged , , , , , , , , , , ,