Author Archives: Brew in Review

First adventures – keeping things warm

Howdy!

So it’s been about five days since we did the brew I talked about in my last post, and I’ve been relatively happy with the progress.

As I mentioned in my previous post, there was some concern about keeping everything warm enough during the fermentation process.  We were also worried about the morning sun hitting the fermenting tub: the UV can harm your yeast and make generally bad flavours.  To solve these two problems, the brew spent the week wrapped in a blanket:

Beer needs to me tucked in nice and tight when it gets sleepy.

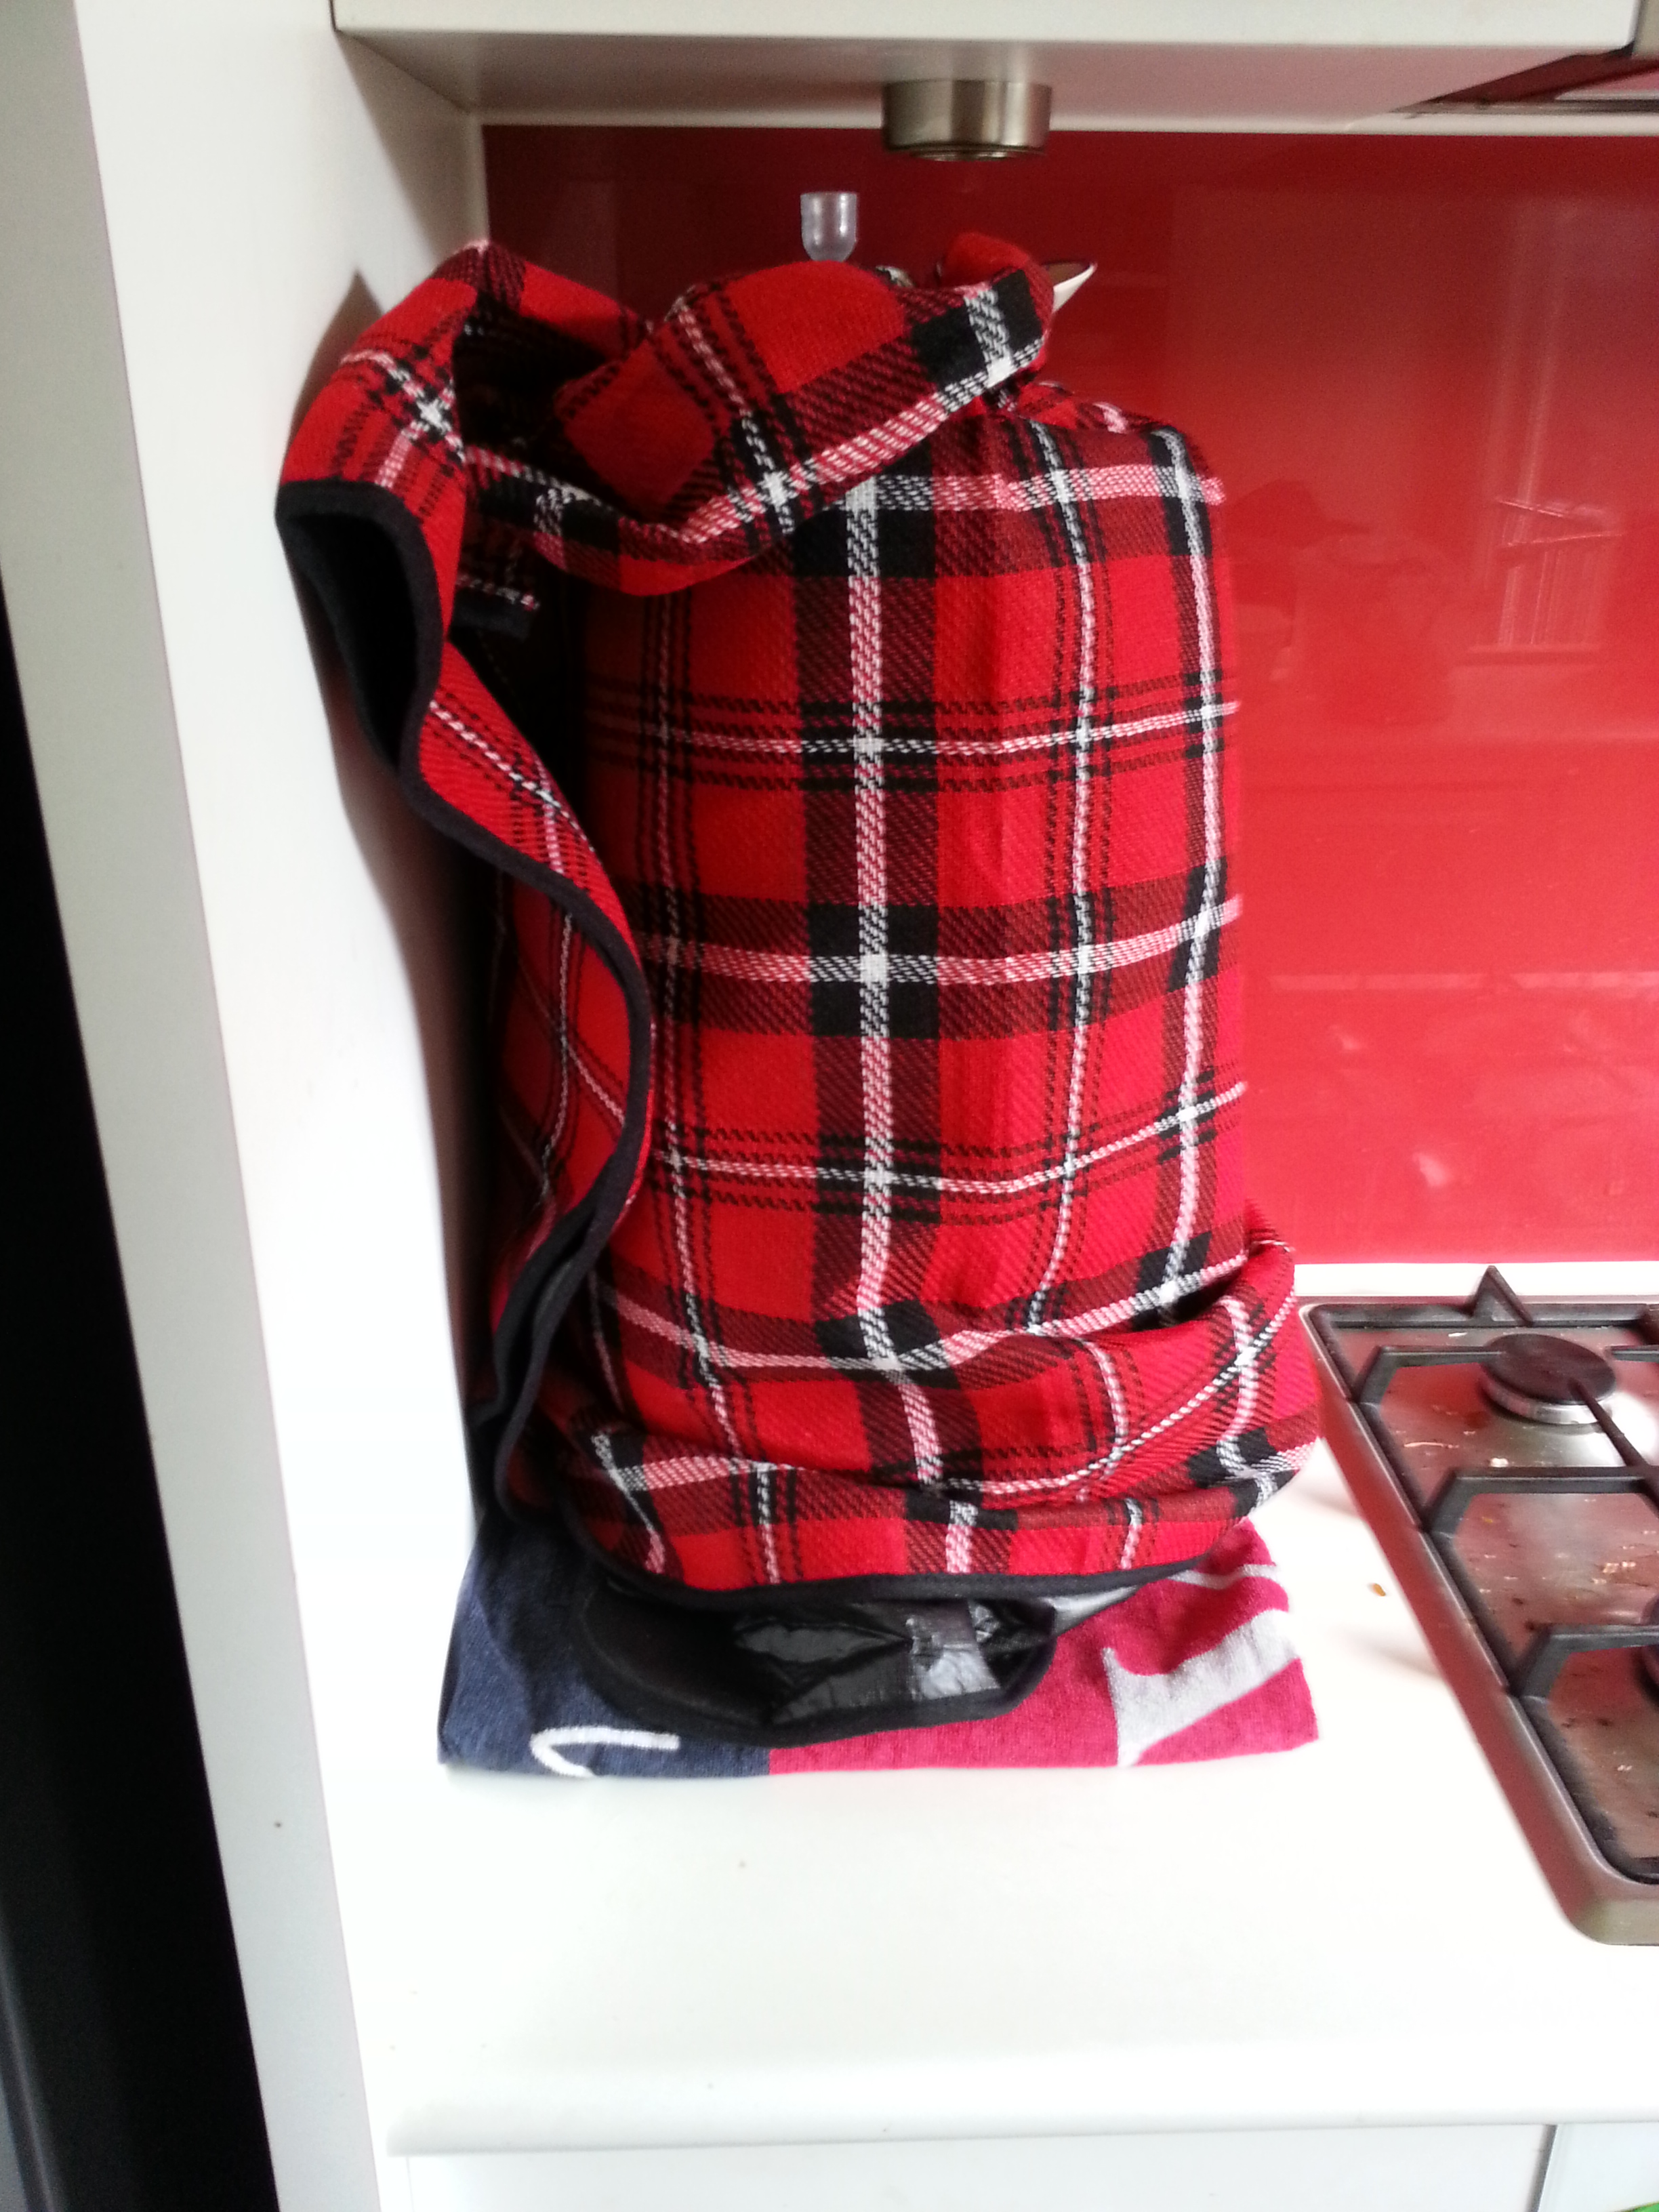
Beer needs to be tucked in nice and tight when it gets sleepy.

This worked surprisingly well.  The yeast manages to produce some of its own heat during the fermentation process, so this blanket kept everything in.  Although my house got as low as about 13 degrees C over night, the wort consistently sat at about 22 degrees C when I checked it in the morning.  It could be a little warmer, but this is still a great temperature. And it was relatively constant, so that’s great.

Another alternative I’ve heard being used is to place your fermenter in an old bar fridge (not on). Refrigerators are extremely well insulated, so this method will keep everything warm (or cool), and more importantly constant.

In warmer months, this method can also be used to keep things cool, just don’t leave the refrigerator on constantly, otherwise things will be too cool.  If you get a fancy enough fridge (or a wine fridge), you may even be able to set it to work at a higher temperature.

Generally, the higher the temperature, the faster the fermentation process is – to a point obviously; if things get too hot, you’ll kill your yeast.  According to the packet, the yeast we used has an optimal temperature range of 21-28 degrees C.  So since the we’re running on the lower end of that scale, the fermentation process will probably take about eight or nine days.

So next step: bottling!  But that’s still a few days away…

-Chas

Tagged , , , , , , ,

First adventures in home brew

Thomas Coopers Heritage Lager

Thomas Coopers Heritage Lager and fermenter

Howdy!

My friend Mikey and I have recently decided to start making home brew. In this blog, we’ll be documenting our brews, sharing what we’ve learned, and hopefully stimulating some discussion and just generally see what happens.

Today, Mikey and I made our first 23 litre batch using a fairly standard starter kit that you can get from most home brew stores. We figured this was a good place to start. The kit came with pretty much everything you need, including a can of Thomas Coopers Australian Lager mix. We made a smaller batch last weekend, but I’ll let Mikey get into that.

These mix cans are a great place to start because it makes the process very easy, albeit probably a little bit too simple. This way though we were able to concentrate on the most important part of home brewing: sterilization.

If you’re interested in getting into home brewing, remember: sterilize EVERYTHING. If any nasties get into your wort, your beer will not turn out. So stay clean and err on the side of caution.

So from there it was just pour the contents of the can into the fermenter with two litres of boiling water – remember, let the can sit in some hot water for about 10-15 minutes, it makes it pour much easier. Pour in some dextrose, fill the the fermenter to 23 litres and you’re pretty much done.

When filling the fermenter, make sure the water is at about 20-25 degrees C before pitching your yeast. And of course make sure everything is stirred thoroughly.

Before pitching your yeast, make sure to take a hydrometer reading to get the original specific gravity (OSG) of the wort. Today we got an OSG of 1.038. The higher the OSG, the higher the alcohol content of the final brew. 1.038 is not terribly high, but it’s pretty good, and we should get a final alcohol content of about 4.5-5.5% or so.

Following that, pitch your yeast, stir that in, put the lid on the fermenter, place your airlock and you’re done… The whole process took about 45 minutes, not counting some initial cleaning and sanitizing.

The instructions said that the fermentation process should take about 6-8 days, but we’re anticipating longer as it’s a bit cool at the moment. Once all of that is done, it’s time for bottling!

While we wait, Mikey has another fermenter at his house as well as the same Coopers kit we used today. Rather than adding the dextrose supplied, we’re planning on using a malt extract to bring out a little more flavor. We’ll report in after we brew that.

-Chas

Tagged , , , ,